Creating HPGL filters
- On the Tools menu, click Preferences, and then click the
Import Associations tab.
The Import Associations tab appears.
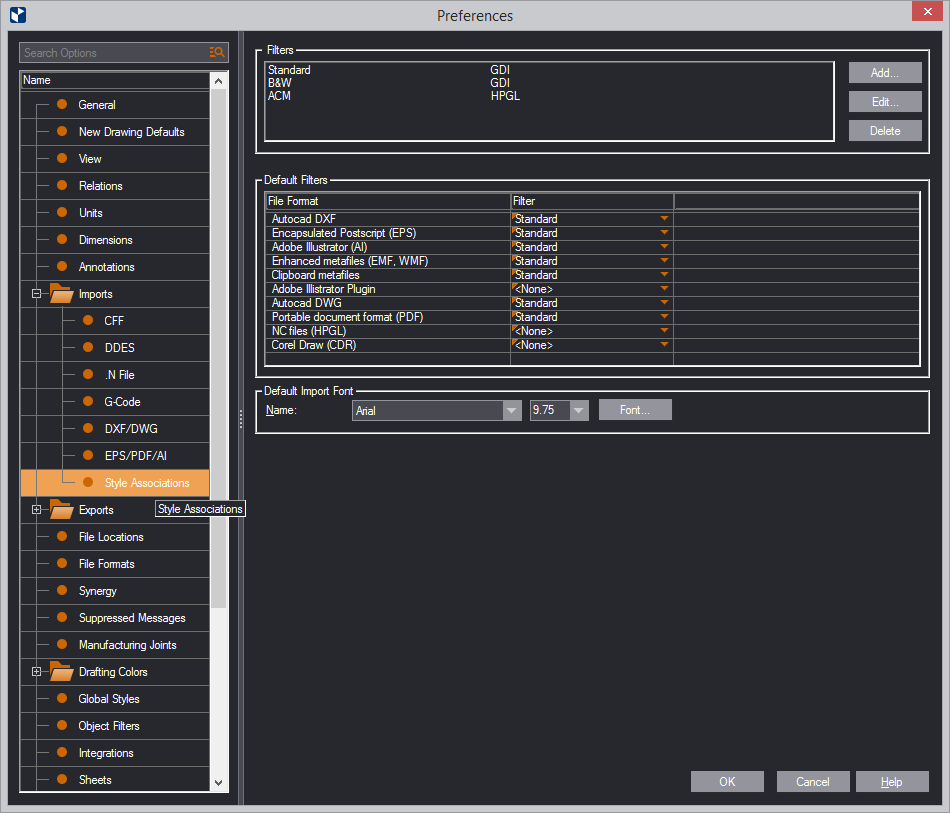
- To create a filter, click Add.
The Filter Type dialog box appears.
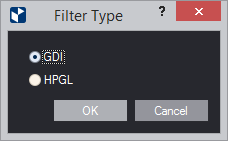
- Click the HPGL option.
The Style Association Filter dialog box appears.
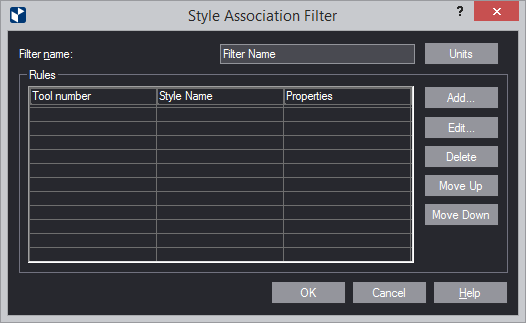
- In Filter Name, type the name that you want to use for the
filter.
- Click Units to set the number of units per millimeter that
the HPGL format requires.
The HPGL Properties dialog box appears.
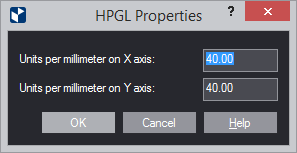
- Type how many units you need for the x- and the y-axes, and then
click OK.
- To start creating a filtering rule, click Add.
The Tool Number – Style Rule dialog box
appears.
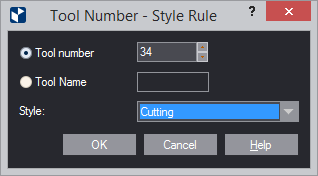
- Depending on whether you indicate your tools by numbers or names,
do one of the following:
- For number-indicated tools, in Tool number, type the number.
- For name-indicated tools, in Tool Name, type the name.
- In Style, select the style that EngView
will associate with the tool.
The rule you have created appears in the Rules
area list.