Exporting files in CAD and vector formats (CF2, DDES, DD3, PDF, DXF,
DWG, EPS, AI, EMF, WMF)
IMPORTANT: When exporting files, EngView
does not export
objects hidden as a result of:
To set up a file exporting job
- On the File menu, click Export.
The Export dialog box appears.
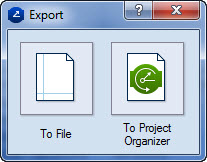
- Consider your case:
- To export the file, click To File.
- To export a file to Project Organizer, click Project Organizer.
NOTE: Project Organizer needs to be installed on your computer.
The Export dialog box appears.
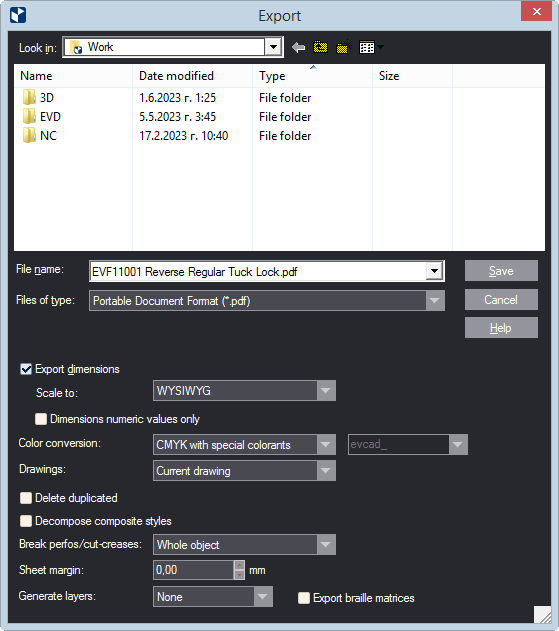
- In Look in, navigate to a folder in which you want to save
the exported file.
- In File name, type the name of the file. (You do not need
to type a file extension; it is added automatically depending on the
chosen file format.)
- In Files of type, select the file format in which you want
to export.
Depending on the selected file format, the dialog
box displays the applicable export rules. In the links below, find details
about the rules for each file format:
- Edit the settings in a way that works for you.
- To execute the export, click Save.