Inserting drawings by defining a container frame
The procedure that follows describes how you can insert drawings from the project into a container frame. In creating a print drawing, you can combine this technique with the one for directly inserting drawings into the print drawing.
To insert a drawing
- To begin, do any of the following:
- On the Print toolbar, click
New Print Drawing
 .
. - On the Tools menu, point to Print, and then click New Print Drawing.
- Press CTRL+I+N.
The Print Frame Placement dialog box appears.
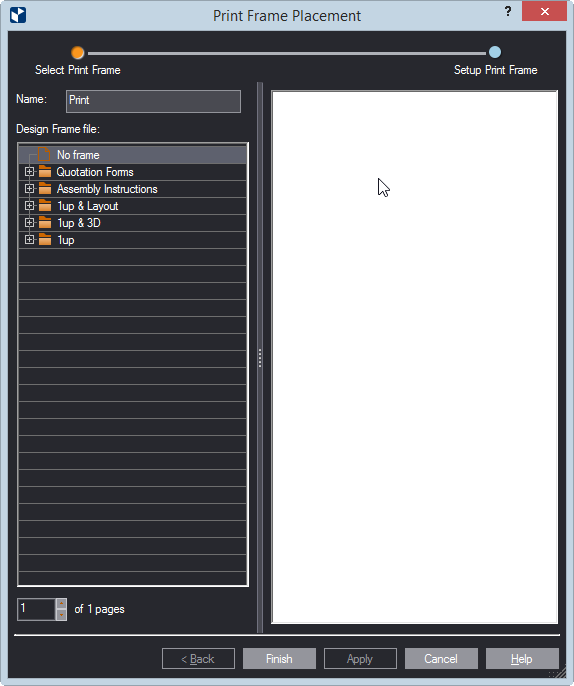
- In the Design Frame File list, select No frame, and then click OK to close the dialog box. This way EngView will not use a template and you will be building your print drawing yourself.
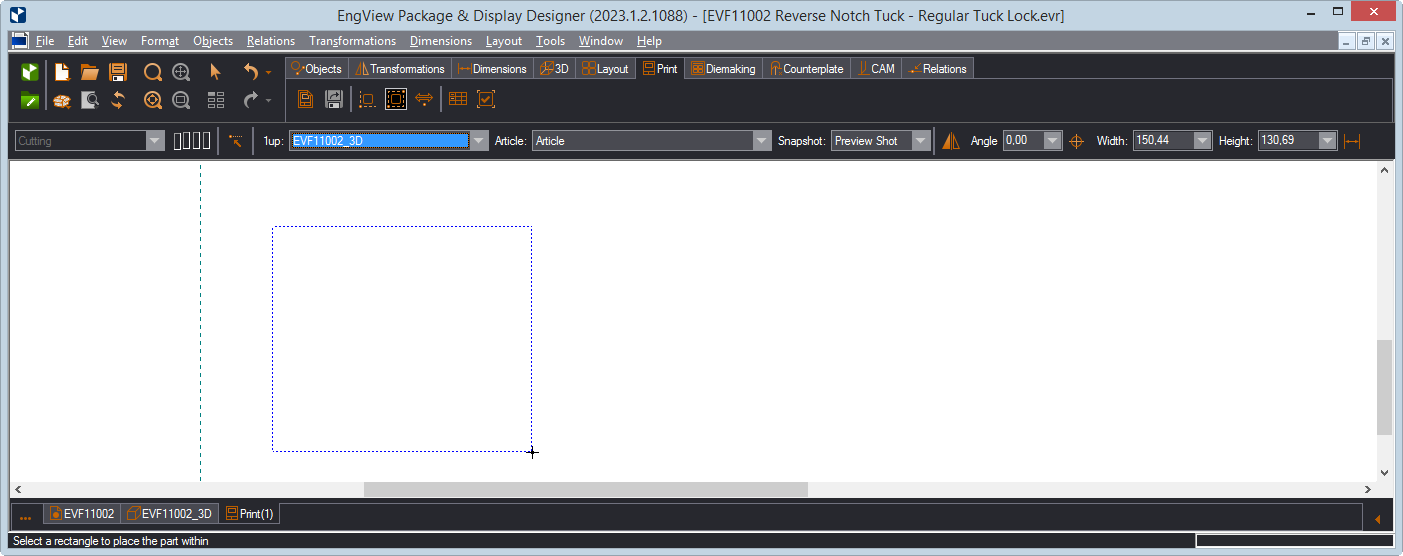
- (Optional) Draw a border that will delineate the entire print page — how you want the page to look when printed out. The border will indicate the space you will be using for positioning the drawings, tables and text. Drawing a border is not strictly necessary, but once drawn, the border serves as a visual aid that helps you position your page's elements.
- Do any of the following:
- On the Print toolbar,
click Place Part
 .
. - On the Tools menu, point to Print, and then click Insert Part by Rectangle.
- Press CTRL+I+P+R.
- On the Print toolbar,
click Place Part
The following contextual edit bar appears above the print drawing: