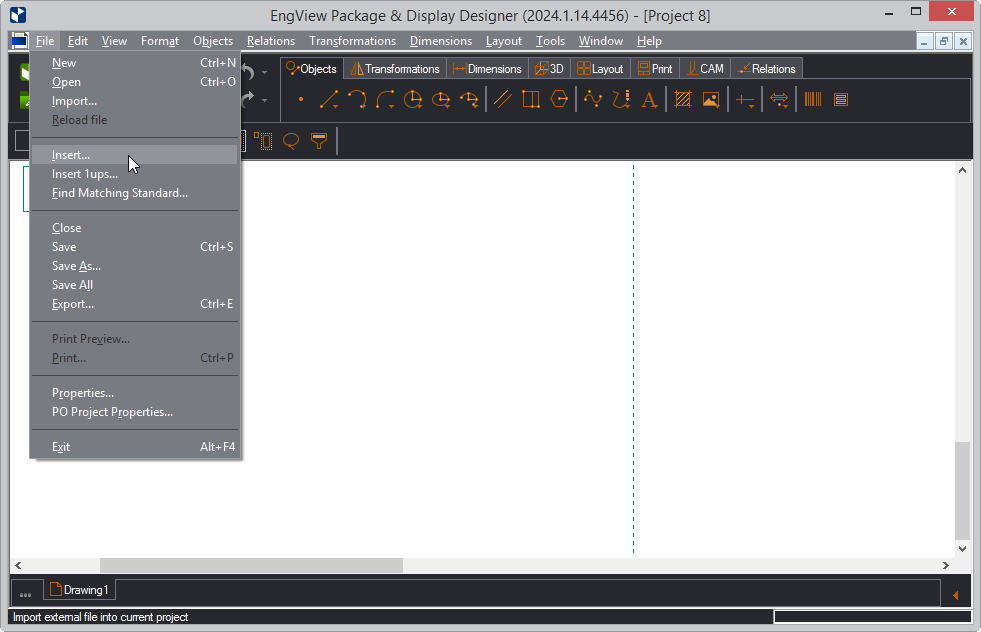
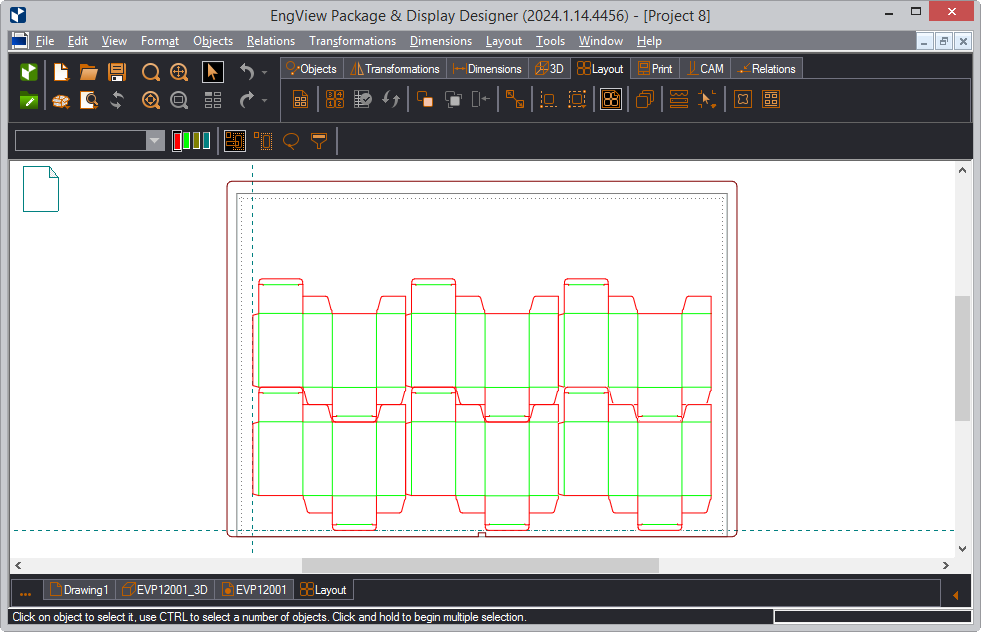
When working on a project, you can insert files or individual drawings of files into the open project. Once inserted, the inserted files become integral parts of the receiving project. The operation leaves the does not modify the source file.
NOTE: This procedure is especially helpful as except for the drawing, you can insert also the rest of the drawings in the source file — for example, its 3D, layout drawings.
To insert a file or parts of a file into an open project

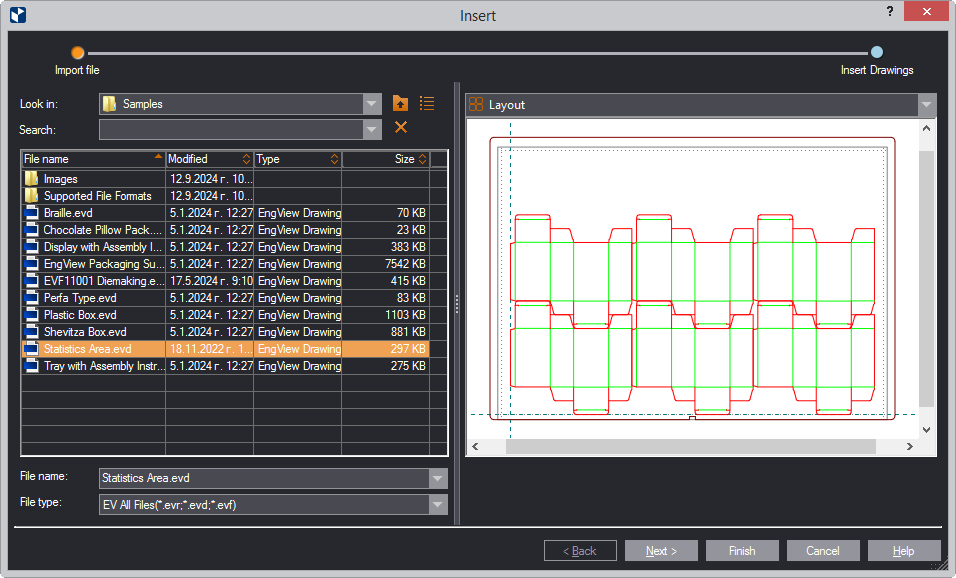
The Insert dialog box appears at its Insert File step.

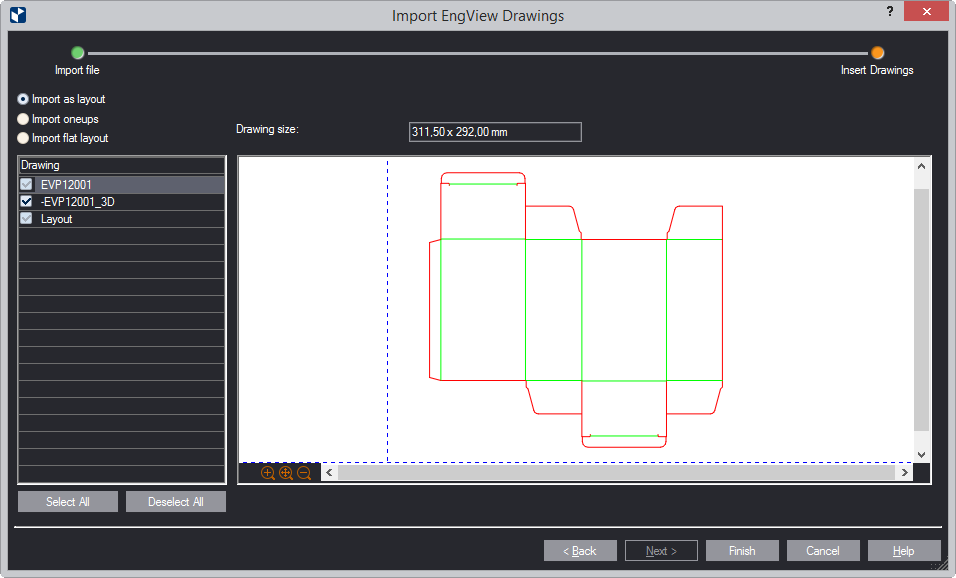
The Insert Drawings dialog box appears at its Insert Drawings step.

The Drawing column lists the drawings in the source file.
You can select individual drawings to import, or you can import all the drawings. Depending on whether you want to import the file with its layout, you have three options:
