Trimming objects

In trimming geometric objects, EngView deletes a line or curve segment to its nearest point of intersection with other objects. If the object to be trimmed does not intersect with other objects, EngView deletes it entirely.

To trim a line or curve segment

  1. Do one of the following:

A contextual edit bar appears.

Trim contextual edit bar
  1. Consider your situation:

To trim to the nearest point of intersection

  1. Point to the line or curve segment that you want to trim.

EngView highlights the object to the nearest point of intersection with another object.

Trimming to the nearest intersection
  1. To trim the segment, click it.
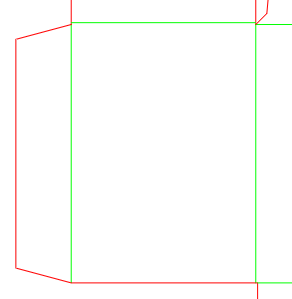
Trimmed
top of page

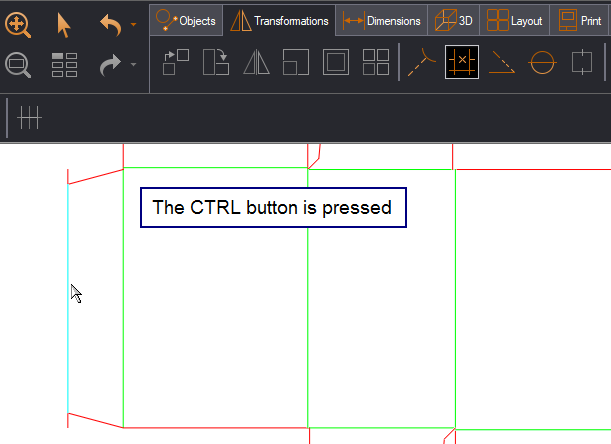
Point and trim the rest

  1. Press and hold down CTRL.
  2. Point to the line or curve segment that you want to keep, and then click.
Press CTRL to trim what is not selected Trimmed
top of page

To trim to the point of intersection with a selected object

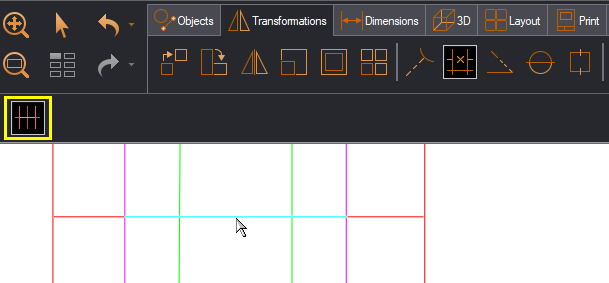
  1. Select the objects that intersect with the object which you want to trim.
  2. Click Use Selected Select to trim selected objects.
  3. Point to the line or curve segment that you want to trim.

EngView highlights the object to the point of intersection with a selected object.

Click to select
  1. To trim the segment, click it.
Trimmed
top of page

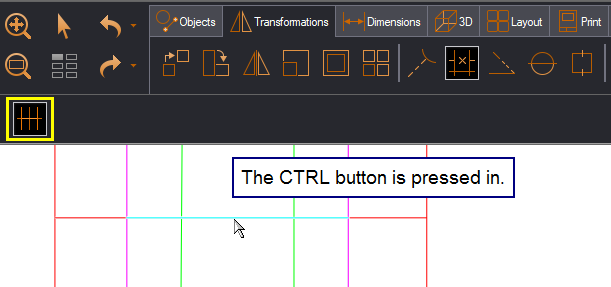
Trim the rest

  1. Select the objects that intersect an object that you want to trim.
  2. Click Use Selected Click to start trimming.
  3. Press and hold down CTRL.
  4. Point to the line or curve segment that you want to keep, and then click.
Press CTRL Trimmed
top of page

To trim an individual object in a group of overlapping objects

When objects overlap, you may need to trim only one of them and leave the others intact. Because of the overlap, it is difficult to tell the objects apart and select the one you need. Here's how to select and trim in such a situation.

Overlapping Objects

The red line (in the Cutting style) and the green line (in the Creasing style) overlap.

  1. Do one of the following:
  1. Position the mouse pointer over the overlapping objects.

You see the bubbles sign appear at the pointer.

Bubbles Indicate Multiple Objects
  1. Click.

You see a list with information about the objects: their IDs, styles and lengths.

Overlapping Objects Info

Moving the mouse pointer across the list highlights the segment that will be trimmed off the original object.

  1. In the list, choose the object that you want to remove, and click to do it. In the above example, the red line in the Cutting style will be removed. The one in the Creasing style will remain as it is.
Trimmed Objects
top of page