Exporting to image file formats (BMP, JPG, TIF, PNG, GIF)
- On the File menu, click Export.
- In the Export dialog box that appears, consider your case:
The Export dialog box appears.
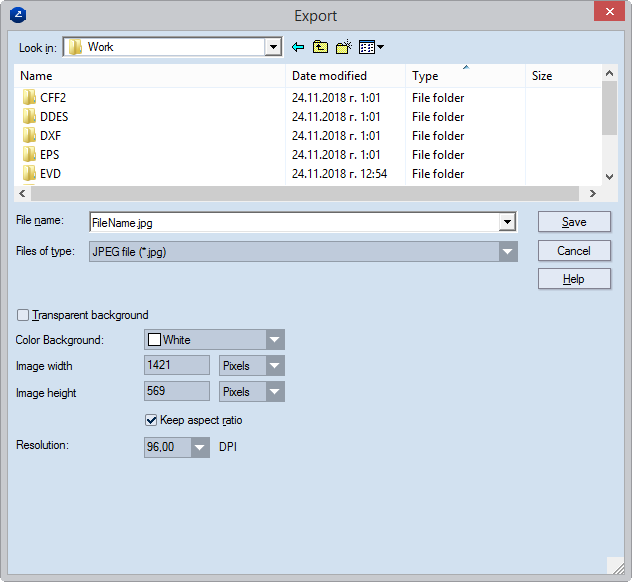
- In Look in, browse to a folder in which you want to save
the exported file.
- In File name, type the file name. (You do not need to type
the file extension; it is added automatically.)
- In Files of type, select the file format that you need.
- Transparent background This setting can be applied only
to PNG files.
- In Color Background, select a color for the overall background
for the exported file.
- In Image width, height, type values and select metric
units (pixels, <current
globally set metrics>) for how large you want the image to
be when exported. To keep the size of the exported image in the original
aspect ratio, select the Keep aspect ratio check box. This
guarantees that while typing a value in any of the cells (Image
width or Image height), the other will change accordingly,
preserving the original aspect ratio of the image.
- (Optional) In Resolution, enter a DPI (dots-per-inch) value.
- To execute the export, click Save.