Designing vector fonts
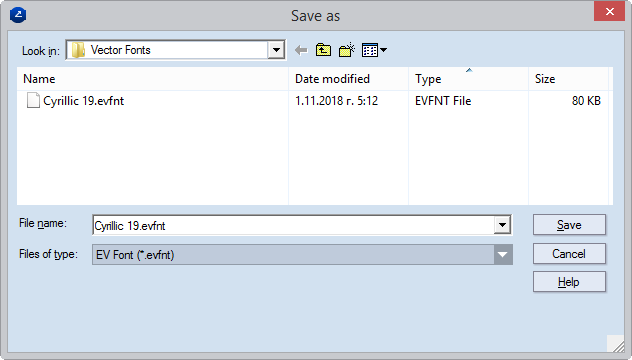
An EngView vector font is a file that consists of separate drawings for each font symbol. When you create a vector font, you create each symbol in a separate drawing, and then save the resultant file as an .evfnt file. You then proceed by saving the font file in your installation's Vector Fonts folder. By default, this folder resides in C:\EngViewWork7\Settings\EngView Fonts\Vector Fonts.
To create a vector font
- To begin, do any of the following:
- On the Tools menu, point to EngView Font, and then click New Vector Font.
- On the Objects menu, point to Texts, and then click EngView Vector Text.
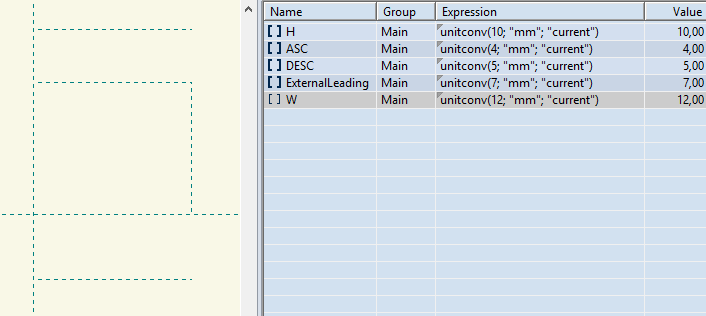
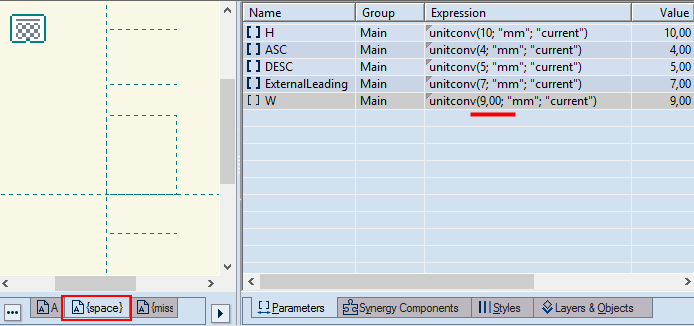
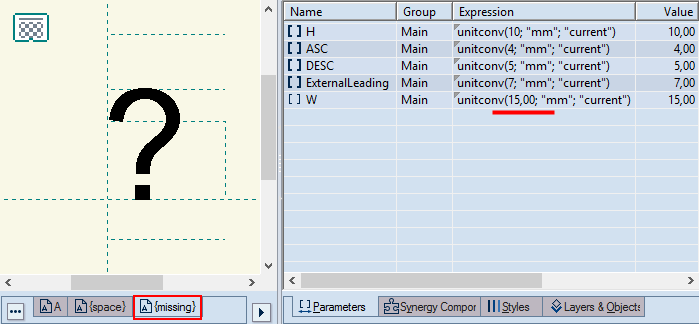
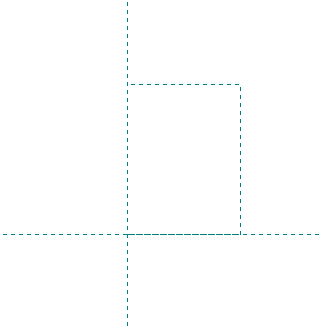
A new project opens, with three default drawings: A, {space} and {missing}. A default bounding rectangle appears at the origin of the coordinate system.
Drawing the symbols
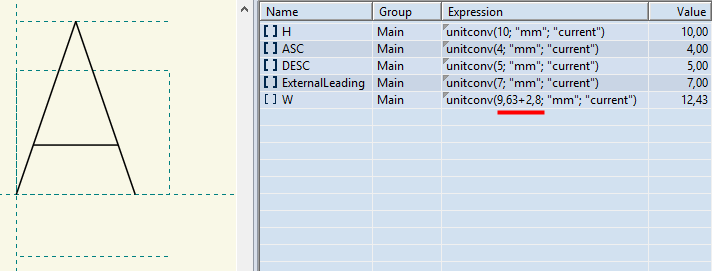
NOTE: Draw each symbol of the font in a separate drawing.
- Set the parameters that determine the font's distances:
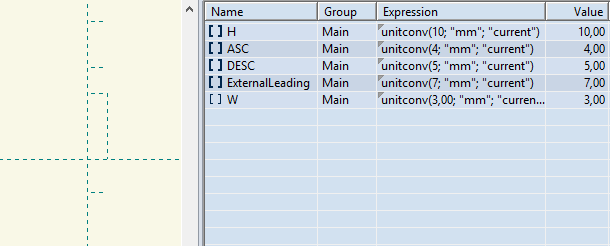
NOTE ON UNIT CONVERSION: A parameter's expression uses a three-argument function: unitconv(Arg 1; "Arg 2"; "current"), Arg 1 is a value; Arg 2 sets the measurements units for Arg 1; Arg 3=current guarantees that when you apply the font to a structure, the Arg 1 value will be converted in currently used metric units. See the following example:
unitconv(10,00; "mm"; "current"). Here, the program treats the parameter's value in the metric units set in the second argument (10 mm). When the third argument is "current," when we apply the font to a structure, the font will stay 10 mm high, regardless of the currently used metric units.
Font parameters
A font is defined by four parameters.
H is the section of the letter between the base line and the x-line.
ASC is the ascender height, the distance between the x-line and the ascender line.
DESC is the descender height, the distance between the base line and the descender line.
ExternalLeading in multi-line texts, the distance between the descender line of the upper line and the ascender line of the lower line. The parameter plays a role in the calculation of the line spacing: Line Spacing = ASC+H+DESC+ExternalLeading.
See the distances that the parameters correspond to in single- and multiple-line texts.