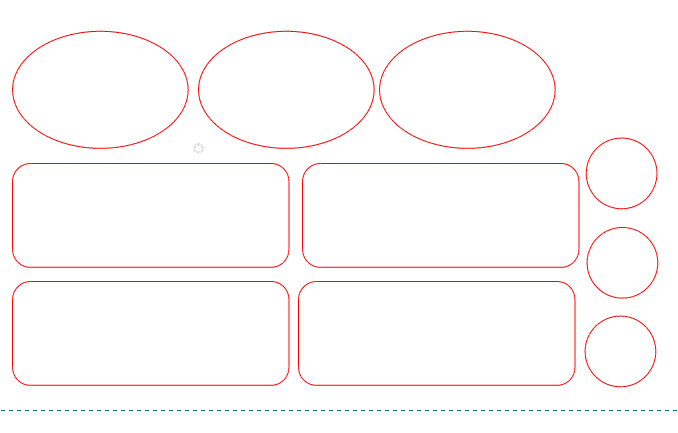
In this video we define manually the placement of the layout 1ups in the layout. We use three simple geometric objects (array transformation for one of them directly in the layout) which are parts of separate drawings.
Video: Creating layout by inserting parts manually
Click the icon to watch the video. Run time: 1:50 min.
On the contextual edit bar, in Part select the Drawing1 layout 1up, and then place it at the origin of the coordinate system.
To cancel the mode, press ESC.
In the graphical area select the Drawing1 part, and then on the Transformation toolbar click Array transformation. Set the first direction distance to 220 mm and the second direction distance to 120 mm, so that there is a 10 mm gap between the layout 1ups along the horizontal and vertical axes.
To place the Drawing2 part twice, on the Layout toolbar, click Place Part, and then on the contextual edit bar, in Part, select the Drawing2 part. Drag the part into the graphical area, and place it three times (see the video).
important: Do not exit the part-placing mode.
On the contextual edit bar, in Part select the Drawing3 part. Drag the part into the graphical area, and then place it above the array.
Click ESC.
Align the Drawing3 vertically at 10 mm to the right-hand side of the y-axis: click Align Parts. On the contextual edit bar, click Align Left, enter 50 in Dx, and then click the drawing and the y-axis.
Align the two Drawing2 parts horizontally at 10 mm to the Drawing1 parts array: still in the aligning mode, in Dx, enter 10 and click consecutively the Drawing2 parts and the Drawing1 parts.
 .
. .
. . Set the first direction distance to 220 mm and the second direction distance to 120 mm, so that there is a 10 mm gap between the layout 1ups along the horizontal and vertical axes.
 . On the contextual edit bar, click Align Left
  .
.