In this video we create a layout drawing by using a predefined 2 Rows template. This automates the placement of the layout 1ups.
Video: Creating layout with a predefined 2-row template
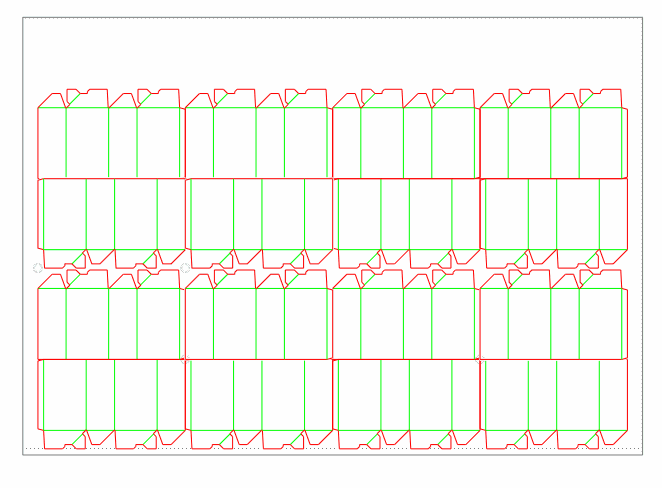
![]() Click the icon to watch the video. Run time: 1:01 min.
Click the icon to watch the video. Run time: 1:01 min.
PROCEDURAL STEPS
 .
.note: In the wizard that appears, ensure that the Run layout wizard check box is selected.
The Sheet Placement step appears.
The Align 2-nd column and row dialog box appears.
note: A gap of 3 mm or more is considered necessary due to the fact that if the parts are adjoined, the cutting rule will have to change direction too abruptly, which is technologically hard to accomplish.