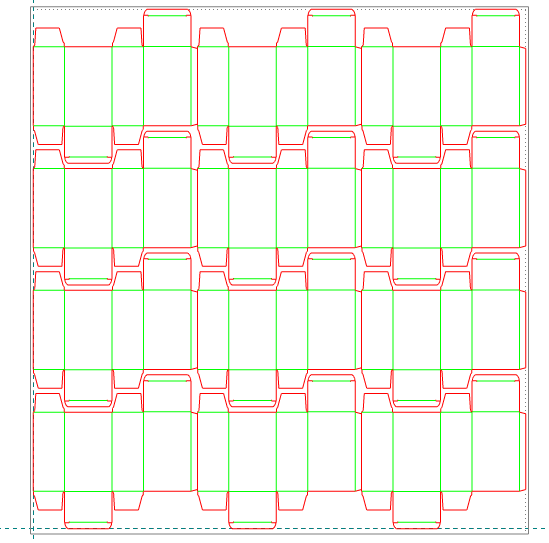
In this video we create a layout drawing of a resizable design. To automate the placement of layout 1ups, we use the Template Layout Wizard.
note: When you have created a layout with the Template Layout Wizard, you can make further changes later by using the layout template.
Video: Creating a simple layout
![]() Click the icon to watch the video. Run time: 0:45 min.
Click the icon to watch the video. Run time: 0:45 min.
PROCEDURAL STEPS
 .
.note: In the wizard that appears, ensure that the Run layout wizard check box is selected.
note: Such a gap is necessary due to the dust flap fillets: if the parts are adjoined, the cutting rule will have to switch direction too abruptly, which, technologically, is hard to accomplish.