Inserting individual .evr, .evd and .evf drawings into projects
When working with a project, you can insert
individual 1up and layout drawings from existing .evd, .evr or .evf files.
This means that you do not insert an entire file in one go, but some or
all of its 1up or layout drawings. This way you can choose to insert only
the drawings that you need.
To insert individual drawings of .evr., .evd or
.evf files into a project
- With your project open, on the File menu, click Insert Drawings.
The Insert Selected Drawings dialog box
appears.
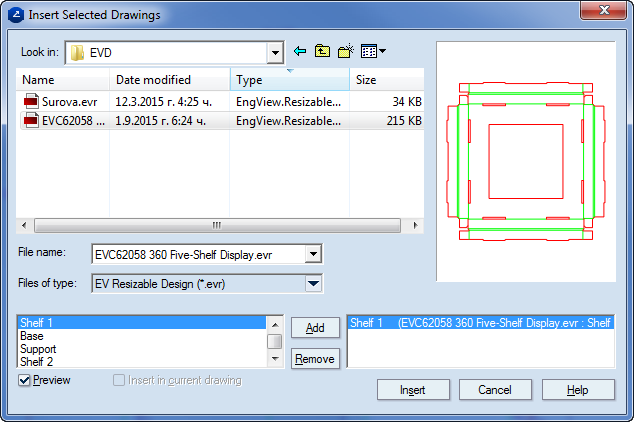
- In Look in, navigate to a location in which to select a
drawing to insert.
- Select the .evr, .evd or .evf file that you want to insert. Note
that the names of the 1up and layout drawings appear in the lower
left section of the dialog box.
- Inspect the drawings and choose the ones that you want to insert
into your current project. To set up a drawing for inserting, select
it, and then click Add.
For each drawing that you add, the Enter new
drawing name dialog box appears, in which you type the name for the
drawing when it is part of the project.

- Type in a name for the drawing, and then click OK.
The drawing's name appears in the lower right area.
The drawing is now ready to go into the project.
- (Optional) To see a preview of the drawing in the right-hand preview
area, select the Preview check box.
- (Optional) To insert the drawing directly into the active drawing
rather than as a separate drawing, select the Insert in current
drawing check box.
- Repeat Steps 3–7 for each drawing that you want to insert into
the project.
- To insert the drawings, click Insert.