.
.Aligning geometric objects against one another positions the object that is being aligned to another object, which serves as reference. You can align a single object or a series of objects simultaneously. In aligning multiple objects, you can either align them as separate objects or as a group.
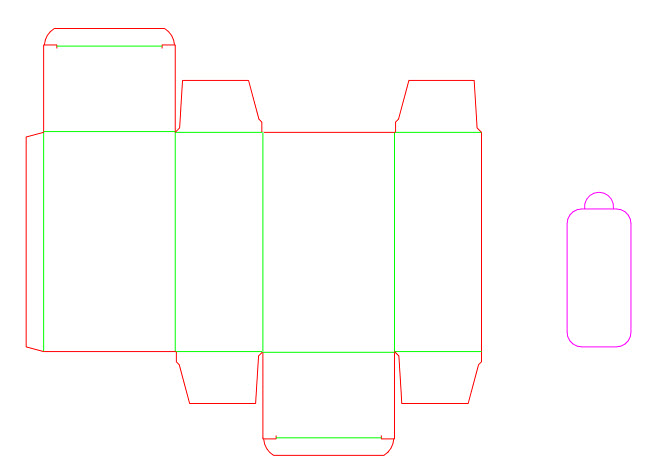
Alignment of an entire selection
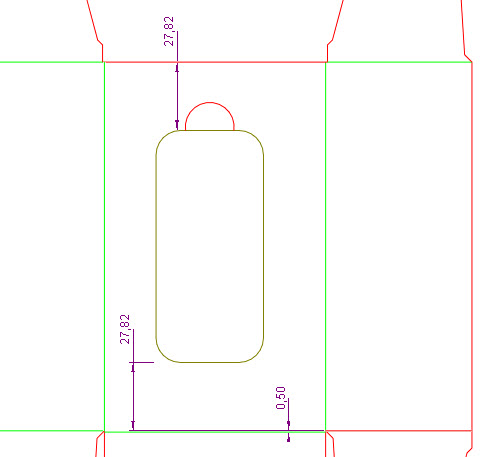
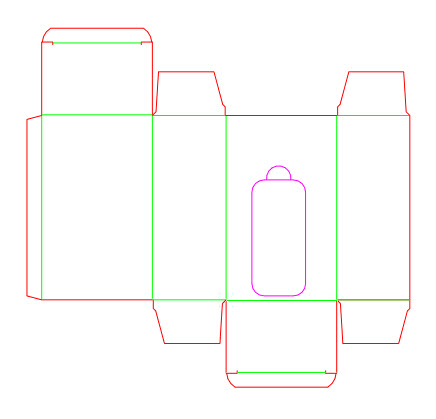
The example shows how an object is aligned to another object.
 .
.A contextual edit bar appears above the graphical area.
![]()
 .
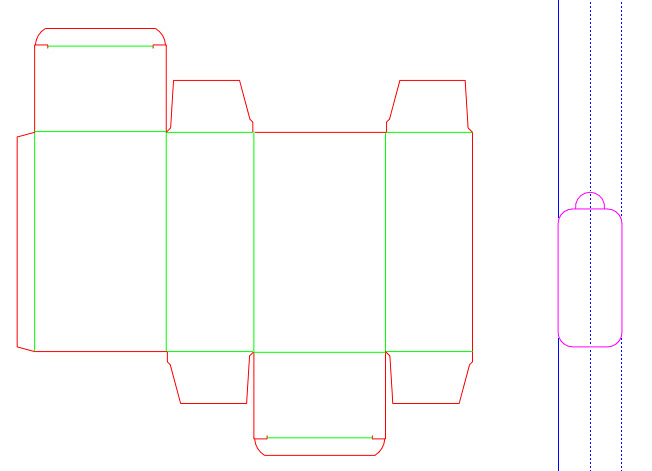
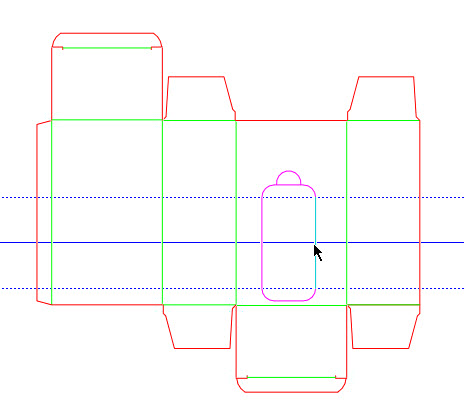
.Three vertical lines appear over the selected object. These are axes that intersect the leftmost end, rightmost end, and the middle of the selection's bounding rectangle. They represent the available aligning possibilities.
After you have clicked, the selected object appears in yellow color, indicating that it is being aligned.
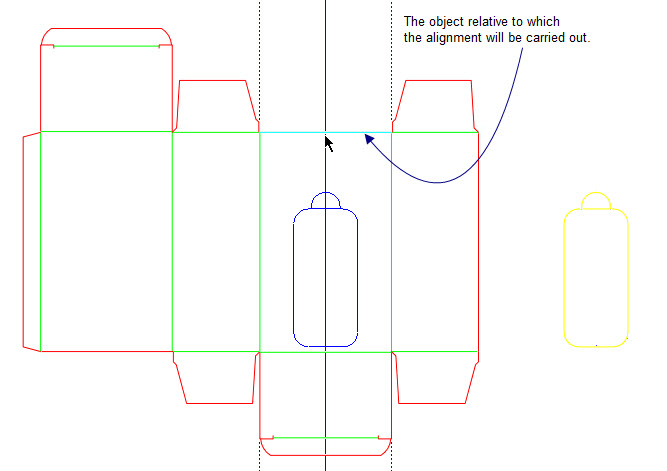
As the reference object is pointed to, three vertical lines appear, representing the aligning possibilities — on the object's leftmost point, on its middle, and on the rightmost point.
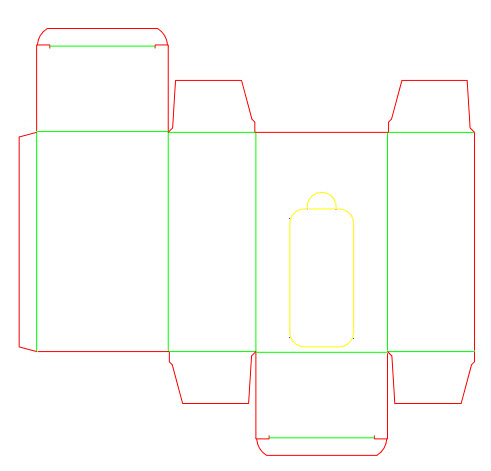
The alignment is done, and the object has moved to where the vertical middle line was.
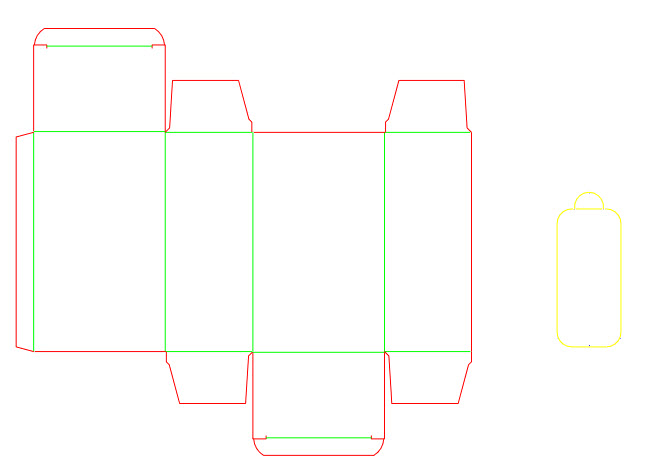
Alignment of a selection by referring to a particular object
In the example that follows the alignment will be carried out by aligning an individual object that is part of a larger object.
 .
.A contextual edit bar appears above the graphical area.
 .
. .
.
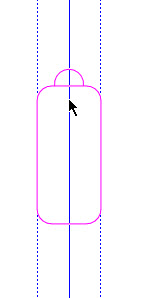
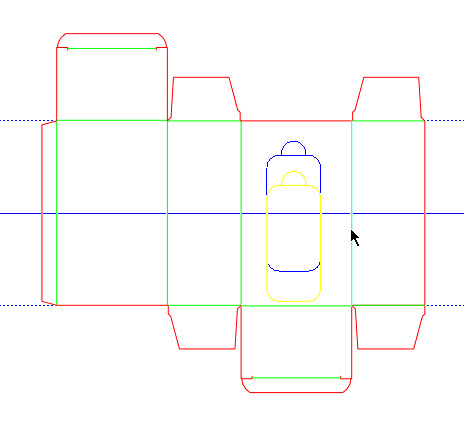
Three horizontal lines appear over the selected object that represent the aligning possibilities.
The selected object changes its color to indicate that alignment is underway.
As the reference object is pointed to, three horizontal lines appear, representing the aligning possibilities — on the object's uppermost and lowermost points and on its middle.
The alignment is done, and the object has moved to where the horizontal middle line was.
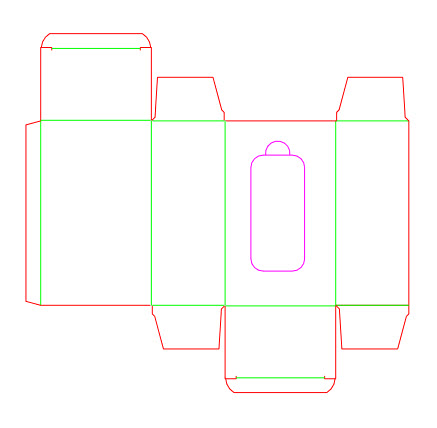
The selected object has been aligned.