When printing and exporting drawings and their dimensions, EngView uses different scaling factors for the dimensions and the text accompanying them. You can use the global zoomable text setting to tell EngView to scale the text to dimensions.
To make the dimensions' text scale along with the dimensions, you need to define a separate scaling texts.
See examples of printed and exported drawings (opens in a new window) and how dimension texts are set to display in a manner that makes them legible (opens in a new window).
This topic guides you how to define a scaling factor for dimensions and apply it onto drawing while preparing them for printing or exporting.
NOTE: The procedure that follows walks you through the steps that you make for defining a scaling factor in a 2D drawing. An alternative is to follow the procedure while setting up a drawing for exporting:


The Edit Scaling Options dialog box appears.

You can use two patterns of scaling the dimension text:
The two methods do not affect each other, and scaling patterns can be created independently.
A entry appears in the list.
TIP: You can type any name that has meaning for you. If no specific name is given for the scaling rule, a name is auto-generated from the values typed in Original Size and Exported Size.
An entry appears in the list.
TIP: You can type any name that has meaning for you. If no specific name is given for the rule, a name is auto-generated from the values typed in Original Size and Exported Size.
After you have defined scaling patterns, the Edit Scaling Options dialog box should look like this:

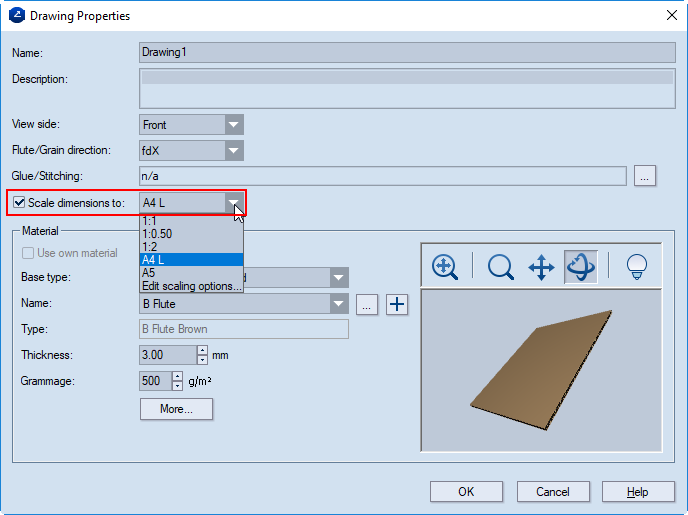
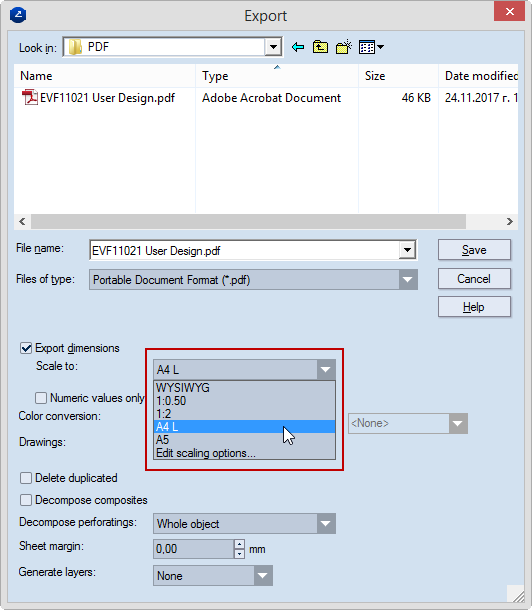
The scaling patterns are independent of one another — once defined here, they will appear in the drop-down lists in Scale dimensions to in the Drawing Properties dialog box and in Scale to in the Export dialog box.
IMPORTANT: When you have applied a scaling pattern to a drawing, this makes the dimensions in this drawing zoomable automatically, regardless of whether zoomable text is set as a global default.
After you have defined scaling patterns, they are available as scaling options for printing and exports. See how to load them:
 top of page