The Export dialog box appears.
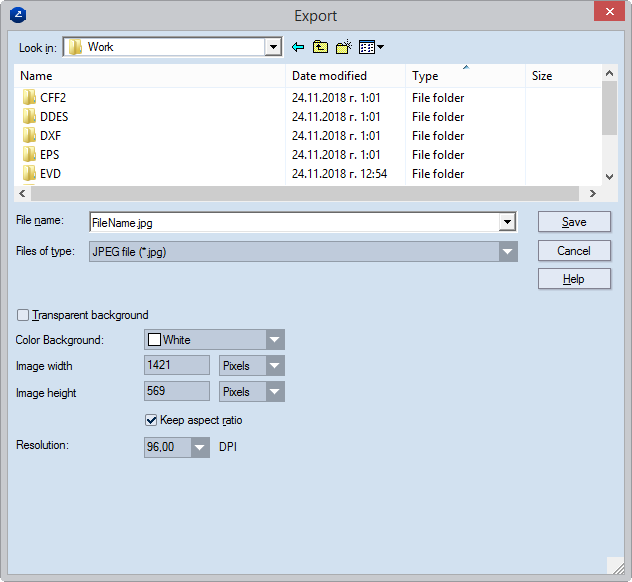
| Transparent background | This setting can be applied only to PNG files. |
|---|---|
| Color Background | The color for the background of the exported file. |
| Image width/height | Type values and select measurement units (pixels, current globally set measurement units) for how large you want the exported image to be. |
| Keep aspect ratio | Guarantees that while typing a value in Image width or Image height, the other will change accordingly, preserving the original aspect ratio of the image. |
| Resolution | An optional value that controls the quality of the exported image. |