 .
.In Illustrator, you assign processes to:
IMPORTANT: If you are generating a print file
from a layout drawing by using the Step
& Repeat functionality, stick to the following technique of assigning
finishing processes: assign finishing processes only by spot colors,
not by layers. Later, when you have the generated PDF file for the
print job, you will be able to give instructions as to how you want each
spot color produced.
Do not use this technique if you are applying a finishing effect onto the
entire sheet.
To assign a finishing process
.A new row appears in the list of processes.
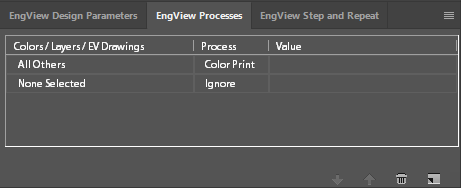
None Selected and Ignore are the default entries for the structure and process, respectively.
In the picture below, a gloss lamination has been assigned to EVF12062.Artwork1.
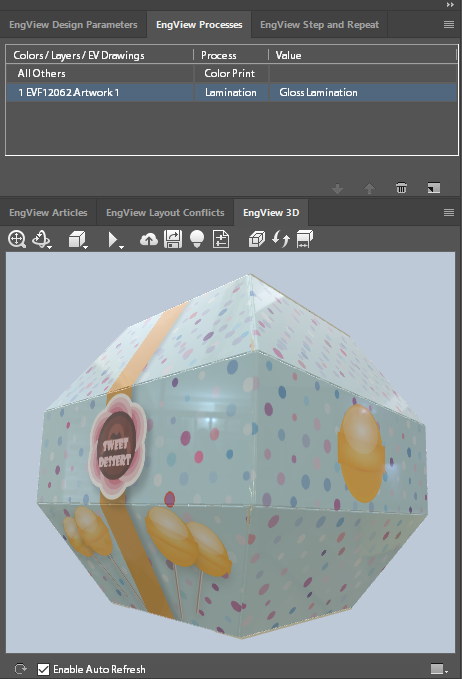
NOTE: Additional values vary between processes depending on the nature of the process. For example, partial foil stamping requires that you set its thickness in microns; imprint (bossing, debossing) effects require adjustment of the height in microns; color print requires adjusting the saturation in percentage.