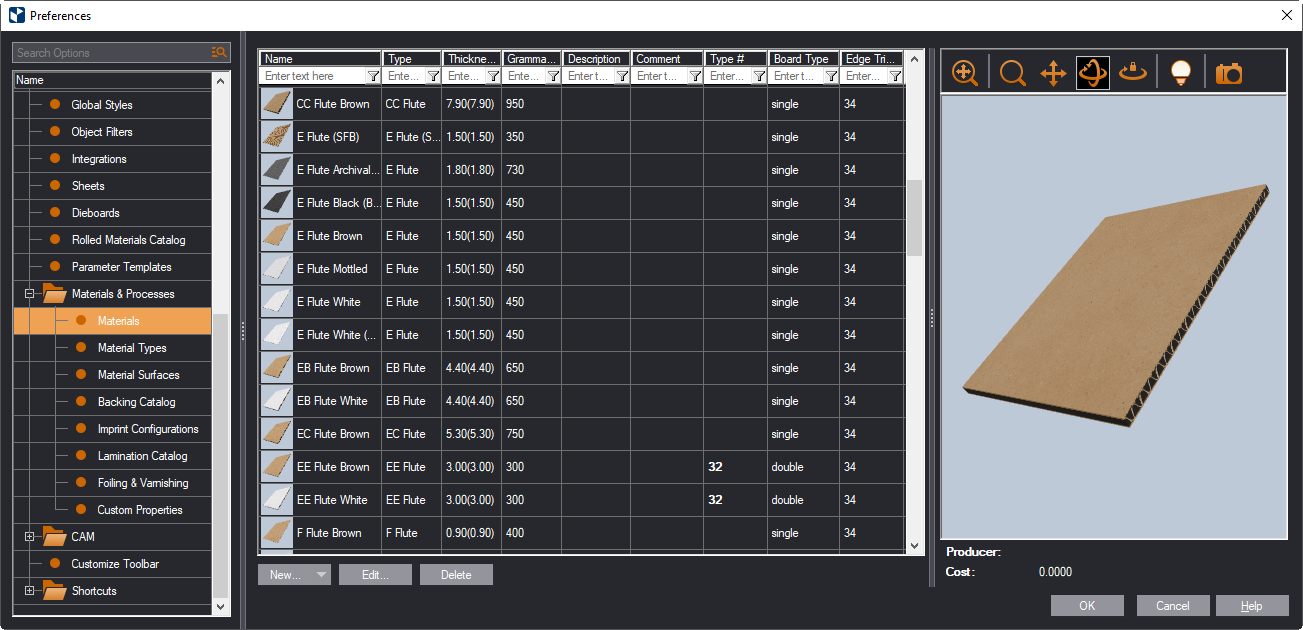
This topic walks you through the process of defining material custom properties.
I. To define a custom property
An empty table appears.
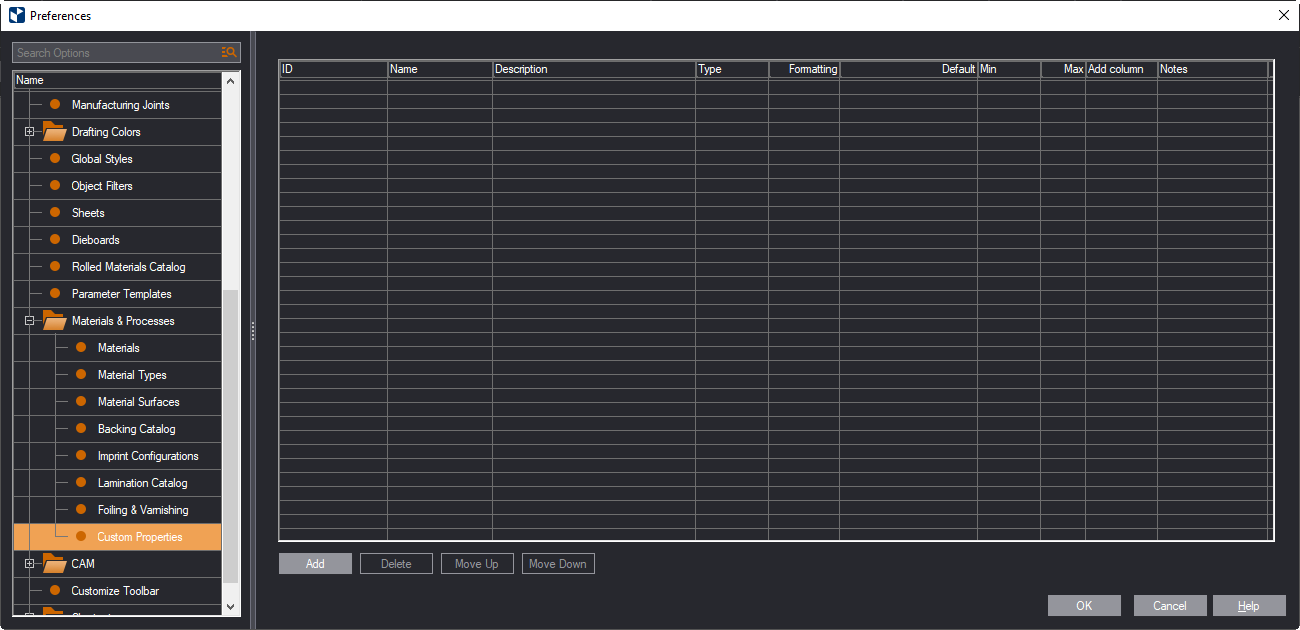
NOTE: Each new (not updated) EngView comes with three properties related to ZUND machines. If you choose to activate a ZUND machine for your work, these properties will become visible. Read more about how these properties work.
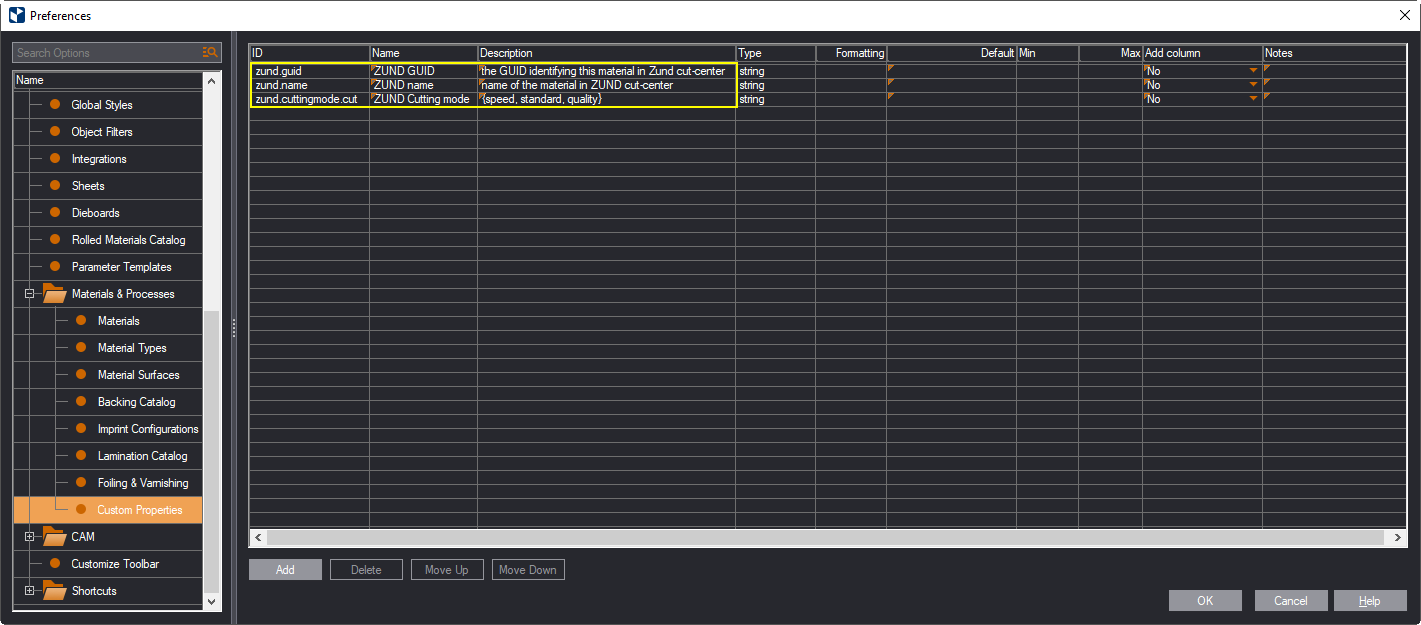
An empty record appears.
| ID | The identifier of the property. IMPORTANT: The ID must consist of at least two words and they must be separated by a dot. If you choose to use more than two words, make sure you use a dot between the words. |
|---|---|
| Name | The name of the property. The name you type here will be used as a column name across EngView if you choose 'Yes' in Add Column. |
| Description | Brief description of what the property is about |
| Type | The type of the property. The type can be:
|
| Formatting | Type how you want EngView to display the value in tables. |
| Default | The property's default value. You can modify it elsewhere in the program where you need it. Regardless of where you modify a value, its latest state is automatically updated across EngView. |
| Min / Max | The lowest / highest values the property can have. Applicable only for numbers of the types int and double. |
| Add Column | When you choose Yes, a column listing the custom property is added in each material-related table across EngView — for example, while editing materials and material types. |
| Notes | Additional notes about how to use the property |
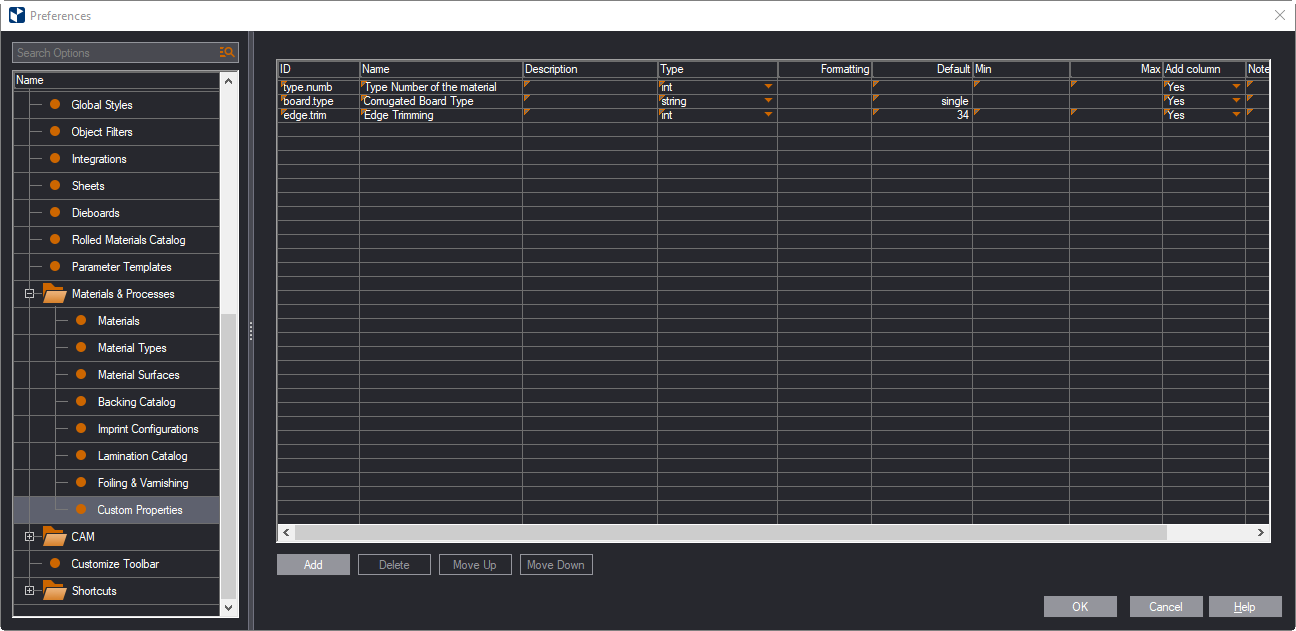
See an example:
II. Customizing the catalog of material types
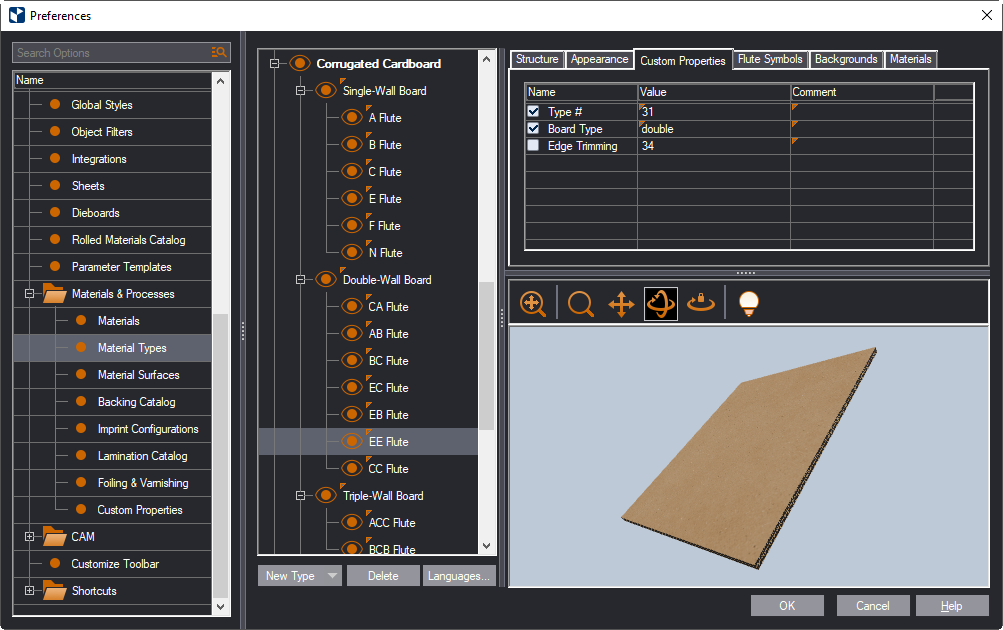
NOTE: Editing custom properties for a particular material type means that the properties will apply to all the materials of this type. Later, you can customize these properties for each particular material, as follows:
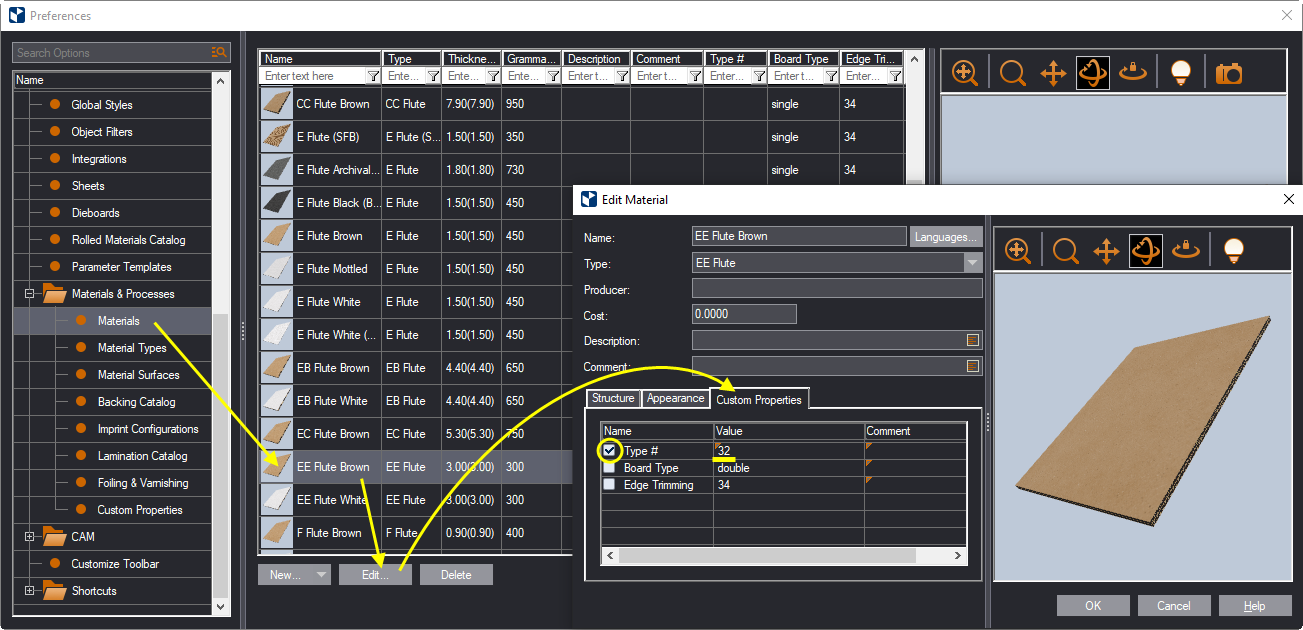
III. Custom properties create new columns in the catalog of materials
After custom properties have been defined, new columns are added to the catalog. This happens if we have set Add Column=Yes for these custom properties.
