| Icon | Control Name | What It Does |
|---|---|---|
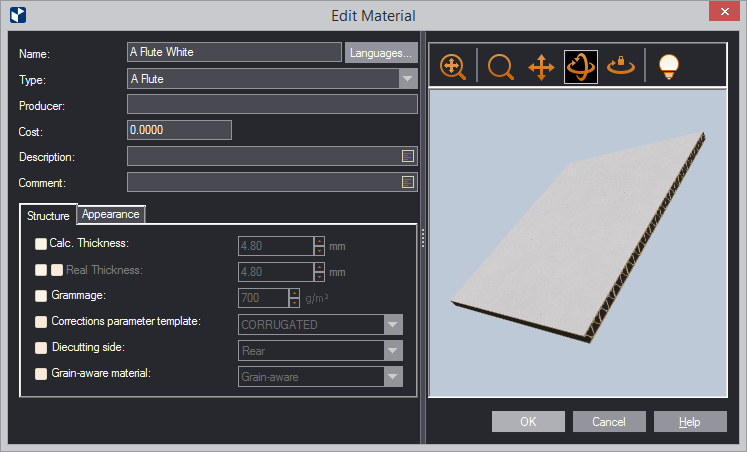
| Name | Name of the surface appearance | |
| Type | Name of the appearance type | |
| Thickness | The thickness. There are two types of thicknesses: the calculation thickness, which EngView uses for calculations in structures, and the real thickness, which is the actual thickness used in production. See below to learn more about the two types of thickness. | |
| Grammage | Displays the weight of the material (in grams per square meter). | |
| Description | Notes about the material | |
 |
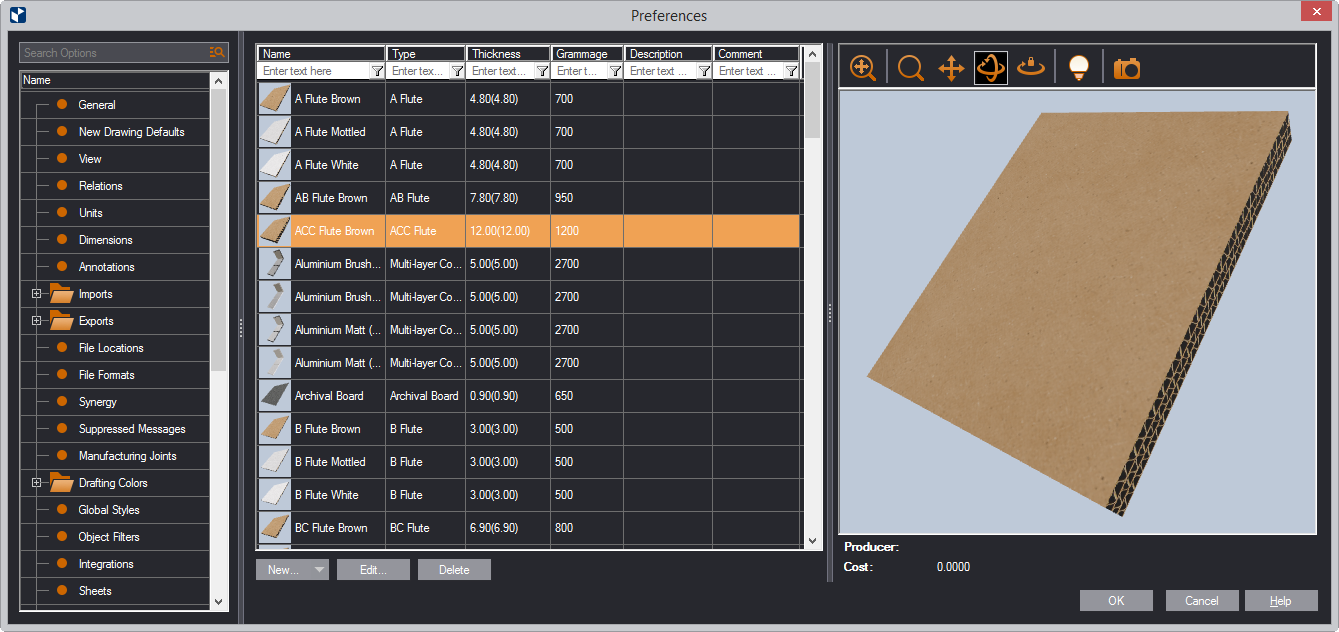
Search | In the field, simplify the search for a material by typing the first letters of its name. |
 |
Fit | Makes the surface model fit the preview area. |
 |
Zoom | Click to begin zooming inside the preview area. |
 |
Pan | Click to start moving the surface model across the preview area. |
 |
Turn | Click to start rotating the surface sample within the preview area. |
 |
Single Axis Rotation | Click to begin rotating the surface model along the axis defined by the movement of the mouse. |
 |
Set scene | Opens a dialog box in which you can set the lighting of the preview area. |
 |
Snapshot Icon | Makes a snapshot of the surface model in the preview area. This snapshot then automatically appears as an icon for the surface appearance in the catalog list. |
| New/Clone | Opens a dialog box in which you can define the properties of
a surface: colors, texture,
and bump.
NOTE: Cloning an appearance is an effort-saving definition technique in which you define an appearance by modifying the settings of an existing one: In the list, select a appearance, click Clone, edit the settings, and then save them under a new name. |
|
| Edit | Opens a dialog box in which you can edit the colors, texture, and bump of a selected appearance. | |
| Delete | Deletes the appearance that you have selected in the list. | |
- Click New/Clone, and then edit the settings as you want them to be.
The New Material dialog box appears.
- In the dialog box, edit the settings as you want them to be.