 .
.To add Braille characters that you want to process into the final product, you must use the technique for adding Braille text into a matrix.
To add a Braille text to a matrix
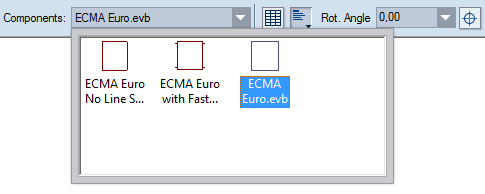
.A contextual edit bar appears above the graphical area.

NOTE: An EngView installation comes with three matrices: (1) ECMA Euro with Fastening Holes, (2) ECMA Euro, and (3) ECMA Euro No Line Spacing. This is the standard ECMA Euro Braille, which the European Carton Makers Association has specified in pursuit of establishing a common standard across the countries of the European Union. It is based on the Marburg Medium Braille size and spacing specification, which is recommended by European and North American standards for pharmaceutical packaging and labels.
The ECMA Euro No Line Spacing code does not have spaces between the lines of text. This gives you freedom to decide where a line should lie.
The matrix appears as a rectangle that follows the mouse.
NOTE: Although normally a matrix is rectangular, it can have any shape its designer decides.
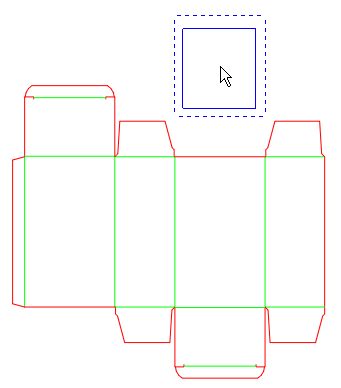
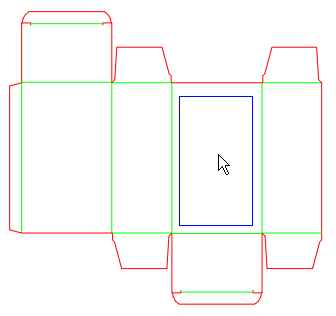

In this case, click to position the matrix, and then use the matrix's control points to resize it across the hosting panel.
HINT: To see the control points, right-click in an empty area, point to Show, and then click Control Points.
You then proceed with placing the Braille text into the matrix.
 .
.A contextual edit bar appears above the graphical area.

NOTE: Your installation comes with only one font, but you can create your own.
NOTE: The letter size that you can type depends on the alphabet you have chosen. It must contain a description of the letters. For details, see Designing Braille code (alphabet).
NOTE: The standard that EngView distributes is ECMA Euro. This is the standard which the European Carton Makers Association has specified in pursuit of establishing a common standard across the European Union. It is based on the Marburg Medium Braille size and spacing specification, which is recommended by European and North American standards for pharmaceutical packaging and labels.
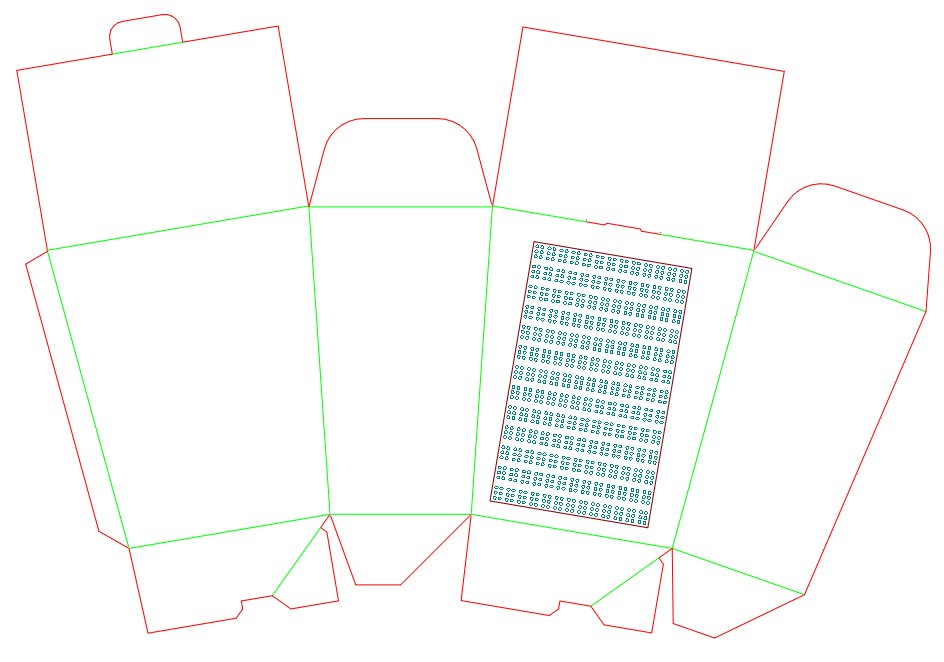
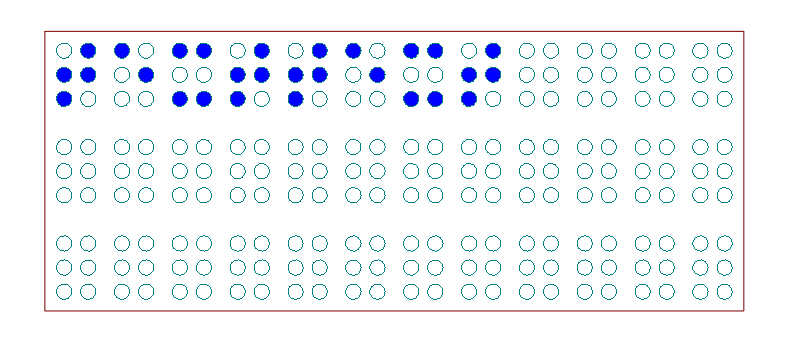
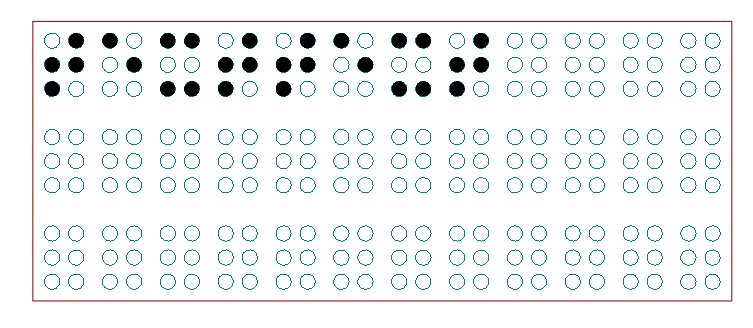
NOTE: When the text falls into the matrix field, the program snaps it to the grid. In other words, the program applies the matrix's Braille code to the Braille text.
The Braille text is added to the design. Note that a Braille layer has been generated that appears in the Layers section of the Layers & Objects tab.
NOTE ON ATTACHING TEXT TO MATRIX: If you select and begin moving a Braille text away from a matrix, it remains attached to the matrix. In other words, if you want to position the Braille text outside the matrix, it will snap to the matrix's code rules. To disengage the text from a matrix, right-click it, and then click Detach from matrix. Conversely, to fix a free text to a matrix, select it, move it into a matrix, right-click, and then click Attach to matrix.