Setting a viewing order for cost model parameters
You can arrange the parameters in your own order
and group them according to a property that makes sense to you. In arranging
this alternative reordering, you can:
- Move parameters across the tabular area. You can move important
parameters at the top of the list and ones that interest you the least
to the bottom.
- Move parameters across the tabular area. You can move important
parameters at the top of the list and ones that interest you the least
to the bottom.
- Group parameters. You can group parameters that share a
common attribute. For example, you can group the parameters that relate
to ink into a group called Ink.
- Move parameters across the tabular area. You can move important
parameters at the top of the list and ones that interest you the least
to the bottom.
- Collapse grouped parameters. If parameter groups take up
too much space, you can collapse them in the tabular area and thus
declutter the tabular view.

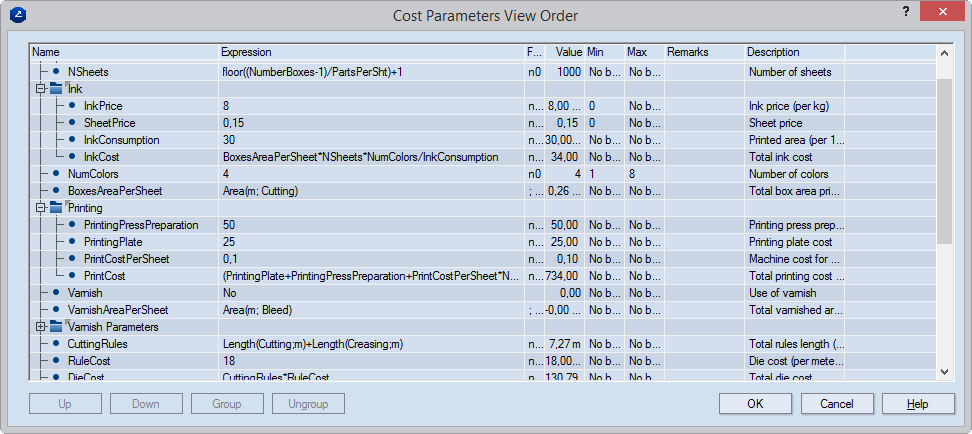
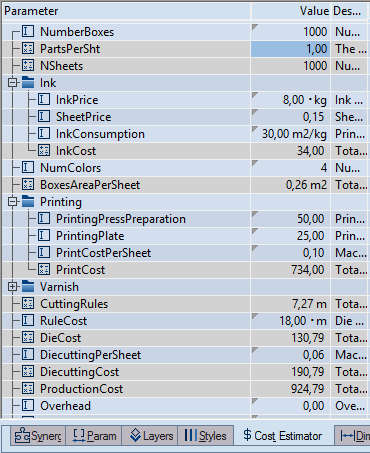
Setting view order of a cost model

Using a cost model with a set view order..Grouping parameters around a common attribute lets you bundle them into
collapsible nests that make room in the tabular area.
It is important to know that setting your own
parameter viewing order does not affect the order set for the calculation
of the job to which the cost model is applied. Estimating jobs costs takes
place according to the order in which parameters appear in the Edit Cost Model
dialog box.
To set cost parameters' viewing order
- Do any of the following:
- On the Tools menu, click Cost
Estimator Models, select the cost model will want to edit, and
then click Edit.
- In the tabular area, in the Cost Estimator
tab, right-click anywhere, and then click Edit Current Cost Model
on the context menu.
The Edit Cost Model
dialog box appears, listing the parameters in the cost model. By default,
this is also the order in which the parameters appear in the tabular area
of EngView's Cost
Estimator tab.
- Click Set Viewing Order.
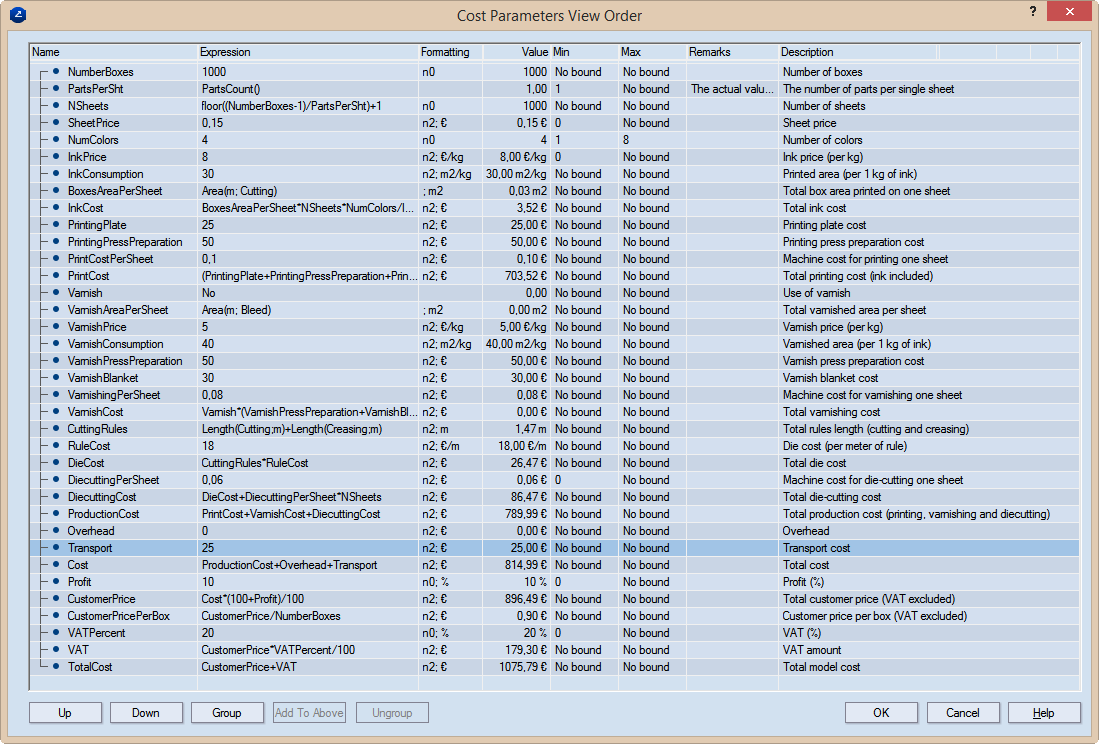
The Cost Parameters
View Order dialog box appears.

To arrange the parameters in groups and move
them across the list, follow the procedures below.
I. To create a parameter group
- Select a parameter that you want to put
into a group.
- Do any of the following:
- Right-click a parameter, and then click
Add to a new group.
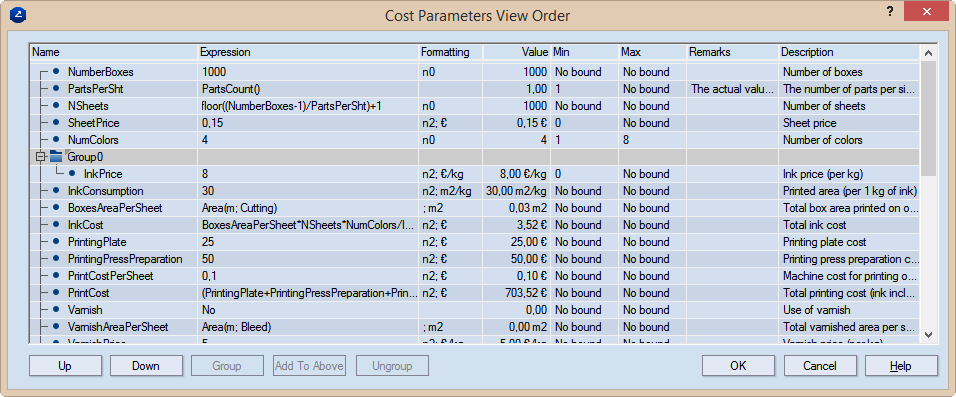
A new group appears with the currently selected
parameter.

II. To rename a parameter group
By default, new groups are given default names
— Group0, Group1, and so on. You can overwrite the default name and give
the group a name that relates to your job.
- Click the group's name, and then type a
new name. IMPORTANT: The name you type must
be unique.
III. To add a parameter to an existing group
- Select the parameter and then, using the
Up and Down buttons, move it immediately below the group.
- Do any of the following:
- Right-click the parameter, and then click Add
to the above group.
- Click Add To Above.
The parameter moves into the group, in the bottommost
position. To move it across the group to where you need it, select it
and then use the Up and Down buttons.
IV. To remove a parameter from a group
- Select the parameter.
- Do any of the following:
- Click Ungroup.
- Right-click the parameter, and then click
Ungroup.
NOTE: If a group contains only
one parameter, after you ungroup the parameter, the group disappears.
V. To delete a parameter group
To delete a group, you must first remove all
the parameters in the group. (See Procedure IV about how to do this.)
When you remove the last parameter, the group disappears on its own.


