Creating composite styles

  1. On the Format menu, click Global Styles.

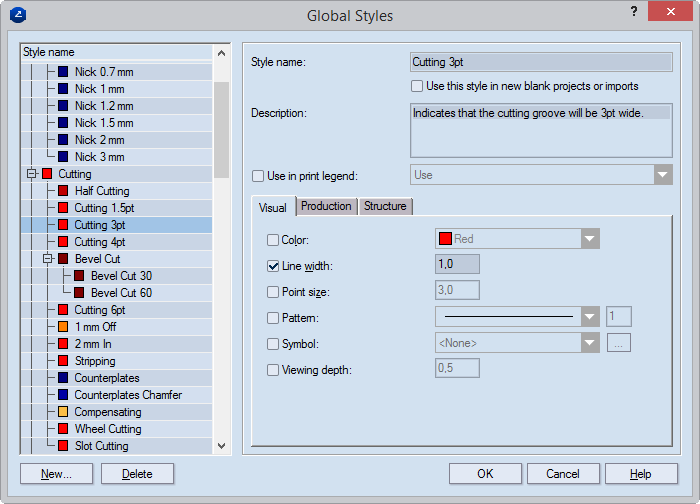
The Global Styles dialog box appears.

  1. Click Composite or any of the styles in the group. This guarantees that the new style that you will create will be a composite one.
  2. Click New.

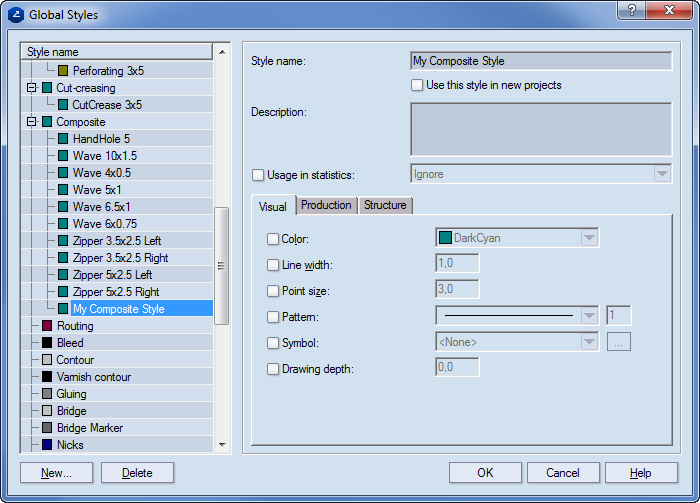
The New Style dialog box appears.

  1. In Style name, type the name of the new style.
  2. Note that the Parent style box displays Composite. Leave it so.
  3. In the Visual tab, edit the settings as you want them to be.

NOTE: The settings in the Visual tab define how the style will be displayed on the screen if View composites is not checked. This appearance is different from the physical appearance of the style on the media.

  1. Click the Production tab, and then edit the settings as you want them to be.

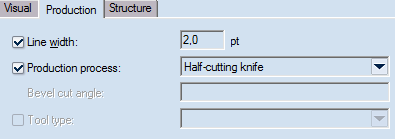
In Line width, select how thick the line will be when produced.

In Production process, select Cutting knife.

  1. Click the Structure tab, and then edit the settings as you want them to be.
  1. Select the Overridden check box. This turns on the mode for setting the structure of the style.
  2. In Cut style, select from the dropdown list the style that will be applied to the knife profile (shape) structure (this is most often the Cutting style).

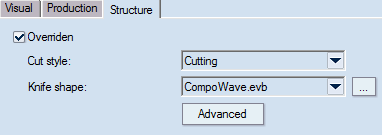
NOTE: This is the style that will be visualized in the CAM and 3D drawings.

  1. In Knife shape, select from the dropdown list the profile (shape) for the composite style.

TIP: To view the shape, click Advanced and inspect the parameter table that appears. If you need to modify the properties of the shape (its length, shape or angle), edit the respective settings.

NOTE: Knife profiles (shapes) that are different from the ones available in the dropdown list can be designed with EngView Synergy. Then they need to be loaded into the EngView installation. Their default location is \\EngViewWork7\Settings\TEMPLATES\CompositeStyles.

  1. In the Global Styles dialog box, click OK.