Applying perfa fonts
NOTE: To be able to apply a perfa font, ensure that it is saved in the Perfa Fonts folder of your installation. By default this folder is in C:\EngViewWork7\Settings\EngView Fonts\Perfa Fonts.
To apply a perfa font
- Do any of the following:
- On the Objects toolbar, click Text
 , drag downward, and then click
  .
. - On the Objects menu, point to Texts, and then click Perfa text.
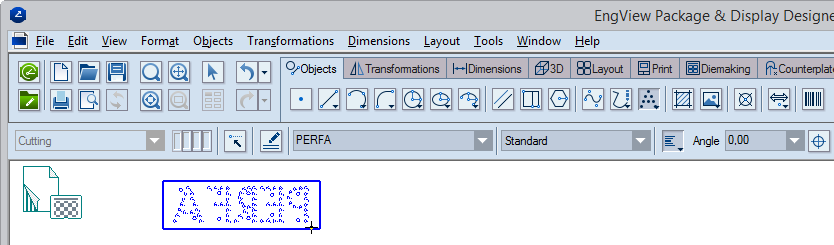
A contextual edit bar appears above the graphical area.

- In the right-hand drop-down menu, select the perfa font that you will use.
- In the left-hand text field, type your text. The text will appear in the drawing area.
NOTE: If you are using the predefined Standard font, use CAPITAL LETTERS to type the text.
NOTE: The program computes the width of the bounding rectangle using rules set in the font's file.
Note the bounding rectangle. It represents the guide-rail, which holds the text's symbols. The program computes the rectangle's length and height by rules stored in the font file.
- After you have typed the text, begin dragging it into the graphical area and position it where you want it to be.
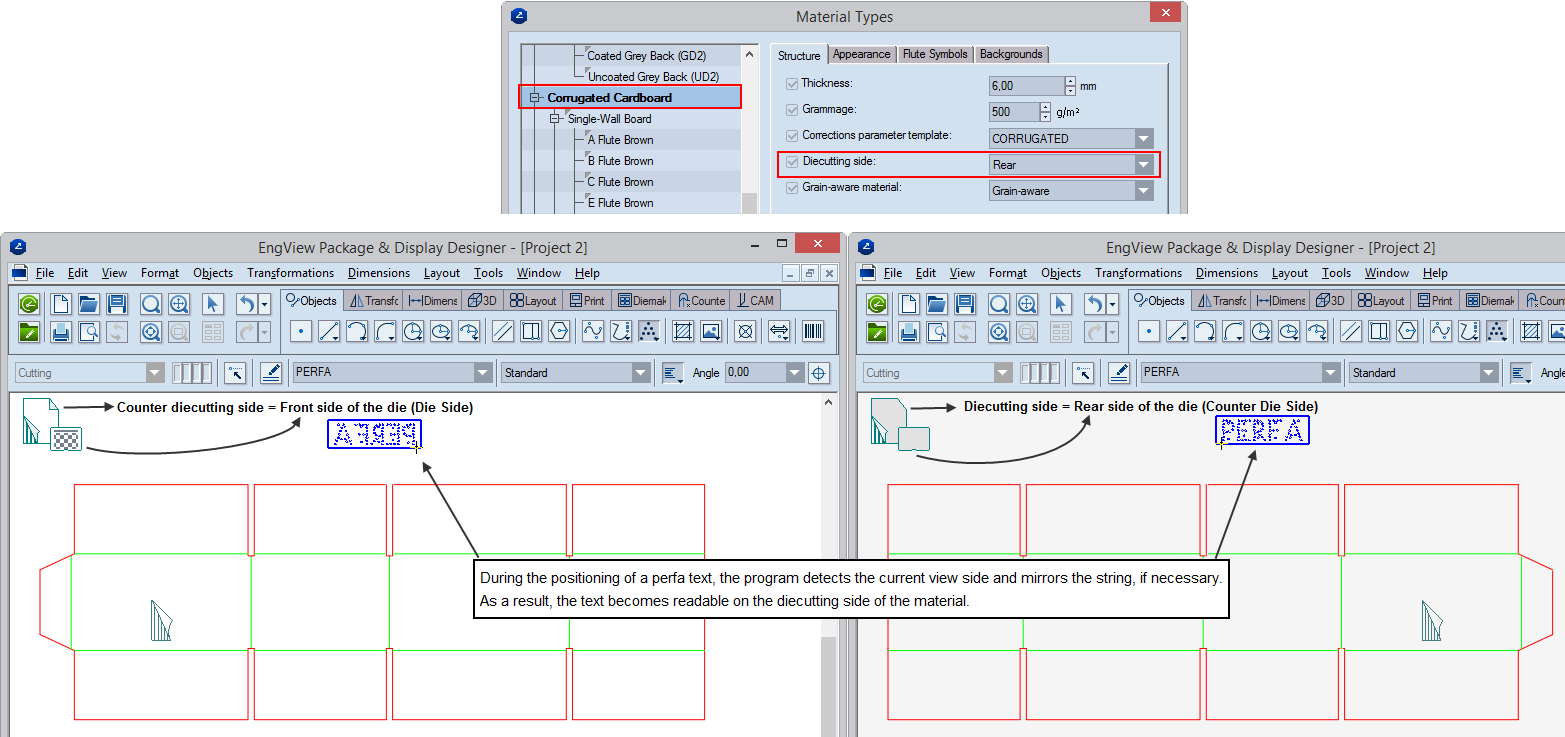
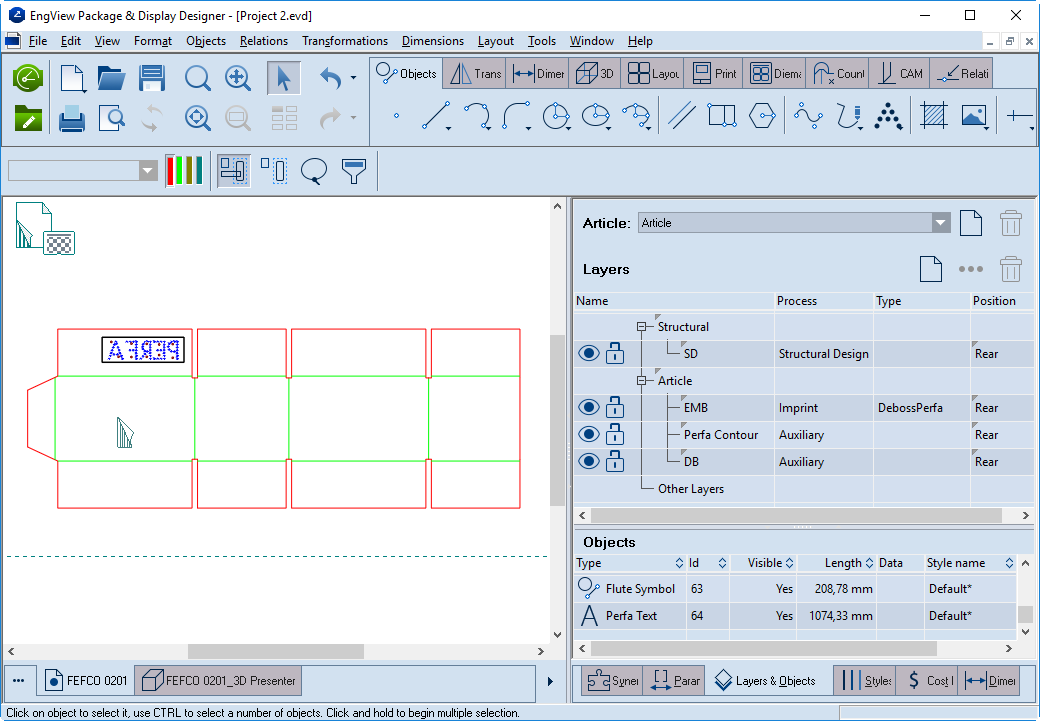
During the positioning of a perfa text, the program detects the current view side of the material and will mirror the string if necessary. The string will be stored in the structural layer (rear/front) that corresponds to the diecutting side of the material. As a result, the text is readable on the diecutting side of the material: