In a print frame, you can choose which state of the folding sequence of a piece of packaging (snapshot) to be displayed in the print frame. You do this by editing the 3D model view.
To create a snapshot in a design frame
The Edit Snapshot dialog box appears.
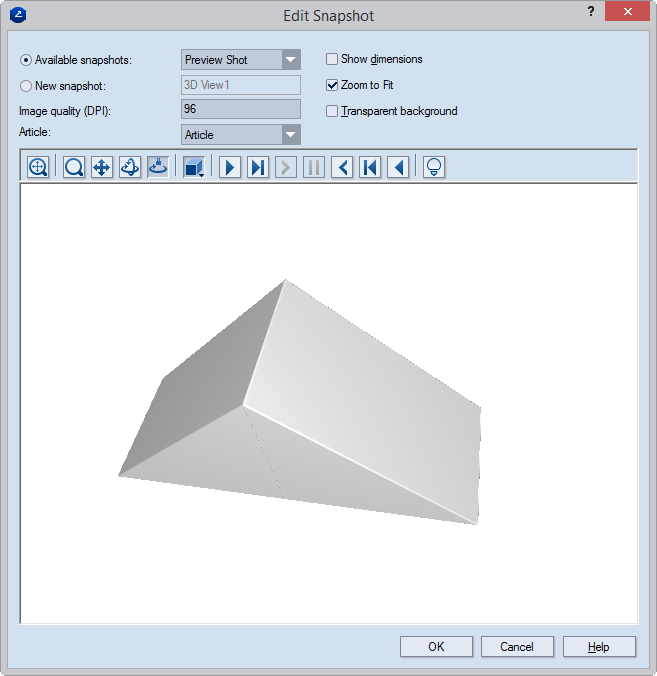
Available snapshots Opens a list from which you can choose a snapshot.
New snapshot To make a snapshot, type a name, and then press ENTER.
Image quality (DPI) Sets the resolution, in dots per inch, of the snapshots that you make via the New snapshot option.
Article In the drop-down list, apply an article to the structure.
Show dimensions When you click the check box, the overall dimensions for the 3D model will appear in the print drawing.
NOTE: You need to have set them while preparing the 3D model.
Zoom to fit In the print drawing, makes the image fit the size of the 3D area.
Transparent background In the print drawing, makes transparent the background of the 3D area. This allows the 3D area to appear in the color set as background for the graphical area. The functionality is especially useful for white-colored 3D models: Changing the color of the drawing area background makes white-colored 3D models stand out against it.
NOTE: By default, if you have not made a snapshot in the 3D Presenter, the program produces a default one named 3D View 1, which reproduces the Final State phase of the active 3D representation.
To edit a snapshot in a design frame
The Edit 3D Snapshot dialog box appears.
Available snapshots Opens a list from which you can choose an existing snapshot, which will be used in the print drawing.
New snapshot To make a snapshot, type a name, and then press ENTER.
Image quality (DPI) Sets the resolution, in dots per inch, of the selected snapshots.
Article In the drop-down list, apply an article to the structure.
Show dimensions When you click the check box, the overall dimensions for the 3D model will appear in the print drawing.
NOTE: You need to have set them while preparing the 3D model.
Zoom to fit In the print drawing, makes the image fit the size of the 3D area.
Transparent background In the print drawing, makes transparent the background of the 3D area. This allows the 3D area to appear in the color set as background for the graphical area. The functionality is especially useful for white 3D models: It is a good idea to change the color of the drawing area background to make white 3D models stand out against it.