 .
.While placing a design into the sheet, you can choose a point to use as a snap point. This point is then used for snapping the to-be-placed design to objects in the sheet.
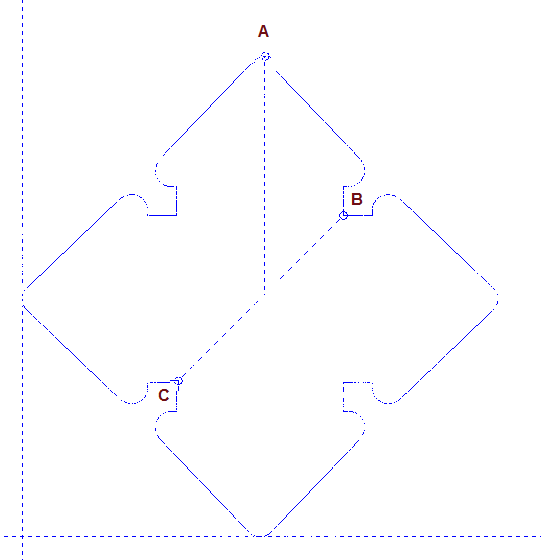
Starting from the center of the design, you can switch between three (and more) control point and select one of them to be the snap point for placing the design into the sheet.
To use snap placement point
.The design freezes, letting you move the mouse pointer around it.
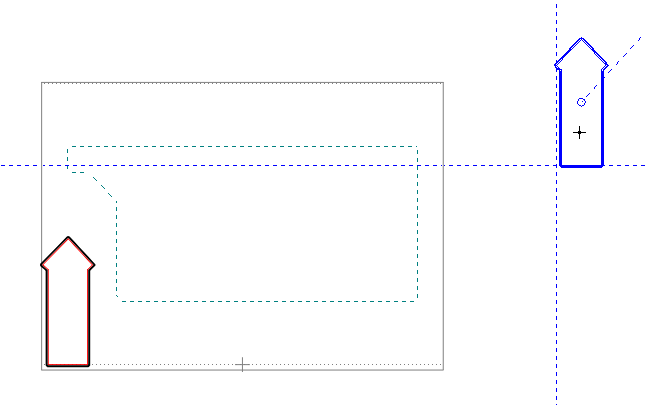
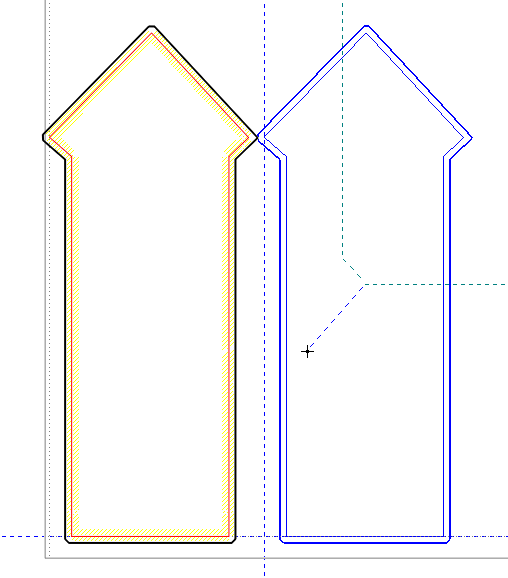
You are placing the new design (in blue) near the first one. The placement is controlled through the central snap point. Note the free-hanging line. It indicates that the new design has reached the no-go area of the first design and cannot move any closer to it.
NOTE: You can switch the snap point at any moment by pressing CTRL, and then using the mouse to select another snap point.