Creating rectangular array
- Do any of the following:
- On the , click the New Layout Drawing
 .
.
- On the Layout menu, click New Layout Drawing.
- Press CTRL+L+N.
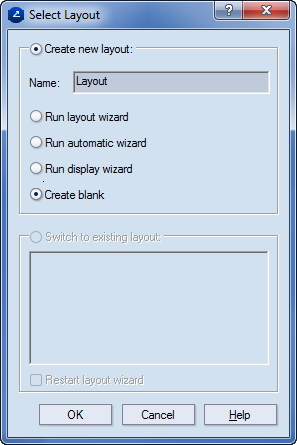
The Select Layout dialog box appears.

- Select the Create blank option.
A blank layout drawing opens.
- Do any of the following:
- On the , click Sheet
 .
.
- On the Layout menu, click Sheet.
- Press CTRL+L+S.
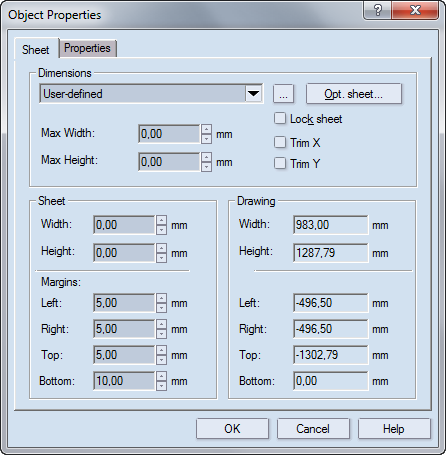
The Object Properties dialog box appears.

- (Optional) In the Dimensions area, select a sheet from the dropdown list.
- (Optional) To define a sheet of your own, do any of the following:
- In Sheet, select an available sheet from the list, or browse to add a sheet from the sheet database.
- In Width and Height, enter your own sheet dimensions.
- In the Margins area, enter sheet margins.
- (Optional) To disable the sheet's automatic centering around layout 1ups, in the Drawing area, select the Lock sheet check box. NOTE: You can leave the check box empty and lock the sheet later — see Step 12.
The defined sheet is displayed in the drawing area.
- To begin populating the sheet with layout 1ups, on the , click Rectangular array
 . NOTE: This button is in a group with the Part Connection Array button
  . If it is not visible, click the Part Connection Array button, and then drag downward to see it.
A contextual edit bar appears above the graphical area.

- In 1ups, select the 1ups that you want to include in the array distribution.
NOTE: In the contextual edit bar, the number of 1up boxes depends on how many 1ups are featured in the pattern you have selected. In the example in Step 6 the selected pattern is 2 parts in rows, which has turned out two 1up boxes. In each box, select a 1up to use in the array. Each dropdown list offers as many 1ups as are featured in the project.
- In Pattern, select the pattern according to which you want the array to distribute the layout 1ups.
NOTE: If none of the available patterns meet your needs, you can create a pattern of your own: click Layout Wizard  , and then use the template layout functionality to create a different layout template.
After a pattern has been selected, the mouse pointer has changed into the array distribution mode.

- (Optional) In Gap X and Gap Y, enter the values for the gaps along the horizontal and vertical dimensions, respectively.
- Ensure that you lock the sheet.
- In the sheet, use the mouse to draw a rectangle for an array.

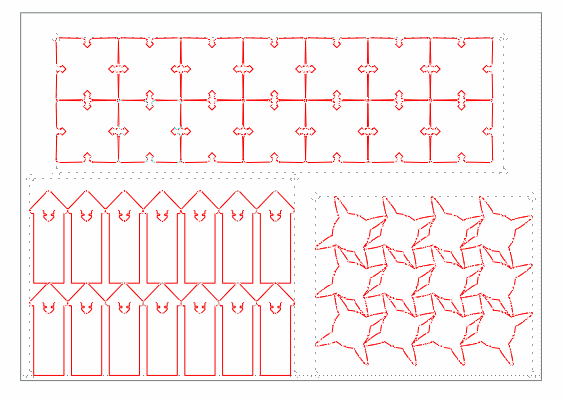
In the sheet, three 1ups are arrayed in three rectangles.
 .
. .
.
 .
.
 . NOTE: This button is in a group with the Part Connection Array button
  . If it is not visible, click the Part Connection Array button, and then drag downward to see it.
 , and then use the template layout functionality to create a different layout template.
