If you need templates with different style properties for styles you need to explain that the template for exporting and printing are different from those used for working on the screen. These differences lie mainly in the different line widths and colors of objects in certain styles. Due to this difference in working methods in on-screen and presentation, different templates need to be defined that will apply for the purposes of printing and exporting. These new template will then be loaded to be the default ones in the program.
We then explain that each installation comes with a set of predefined templates, but you can edit their settings to suit your own purposes.
To define a template for printing and exporting
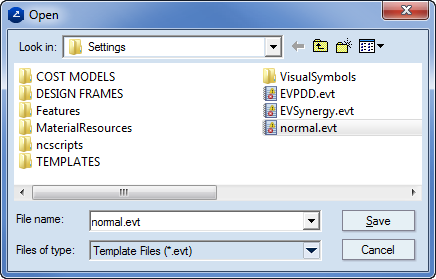
To define a new template, use the default template — normal.evt. After you have defined the new template, reload the normal.evt template, which contains the settings for the real line widths.
An Open dialog box appears.
IMPORTANT: The newly created template is now the current template. All the editing that follows will apply to the new template. The original normal.evt template will be loaded again later.
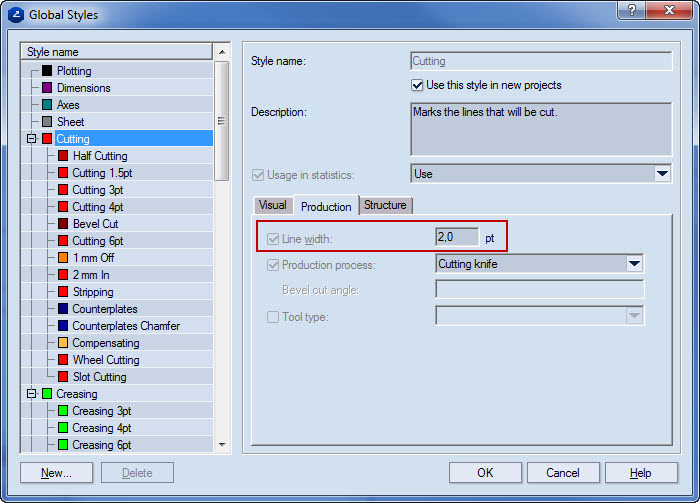

The template is now set with the newly defined style properties.