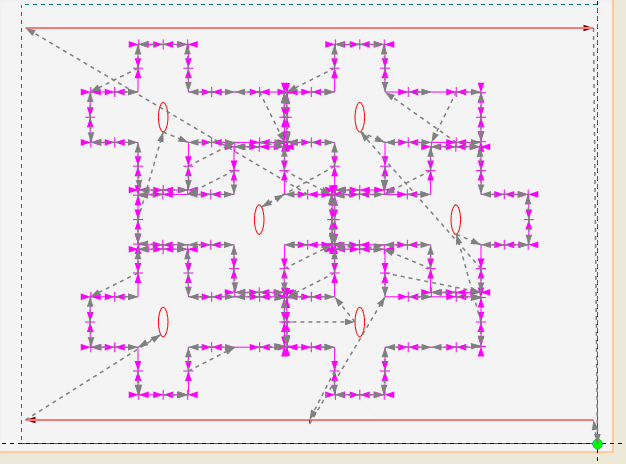
In this video presentation we generate a CAM sample by manually setting the cutting directions, generating and animating the tool path. Note the change of the default cutting directions: the cutting knife is set to run from the edges toward the center, which prevents damage to the design.

Video: Setting custom CAM tool directions
![]() Click the icon to watch the video. Run time: 1:16 min.
Click the icon to watch the video. Run time: 1:16 min.
PROCEDURAL STEPS
 .
. button. This ensures that the cutting knife will move from the edges toward the center and will not damage the design by going out at its edges.
 .
.The optimal tool path is found automatically. For details, see Generating the Tool Path.
NOTE: Tool paths are associated to the respective drawing. If you modify the drawing, the tool path is updated automatically.