Example: Creating design articles in Illustrator
The following exercise walks you through a basic
scenario of how you can use the Illustrator/EngView integration
to create design articles in Illustrator. The exercise uses prepared example
files that you load as you go through the steps. These files reside in
the EngViewWork7\Samples\Images folder of your EngView installation.
We follow the exercise in two parts:
- Creating the articles and applying artworks to them.
- Exploring what the EngView workspace shows us with regard to our
work.
For the purposes of the exercise, we will use
the design EVF12062 Spherical Box Top Regular Tuck Lock.evd from the Library
of Parametric Designs.
=================================
=================================
Creating articles and artworks
Creating an artwork for the front side
- In Illustrator, we load the EngView workspace.
- We load the structure that we'll be working on: EVF12062 Spherical
Box Top Regular Tuck Lock.evd.
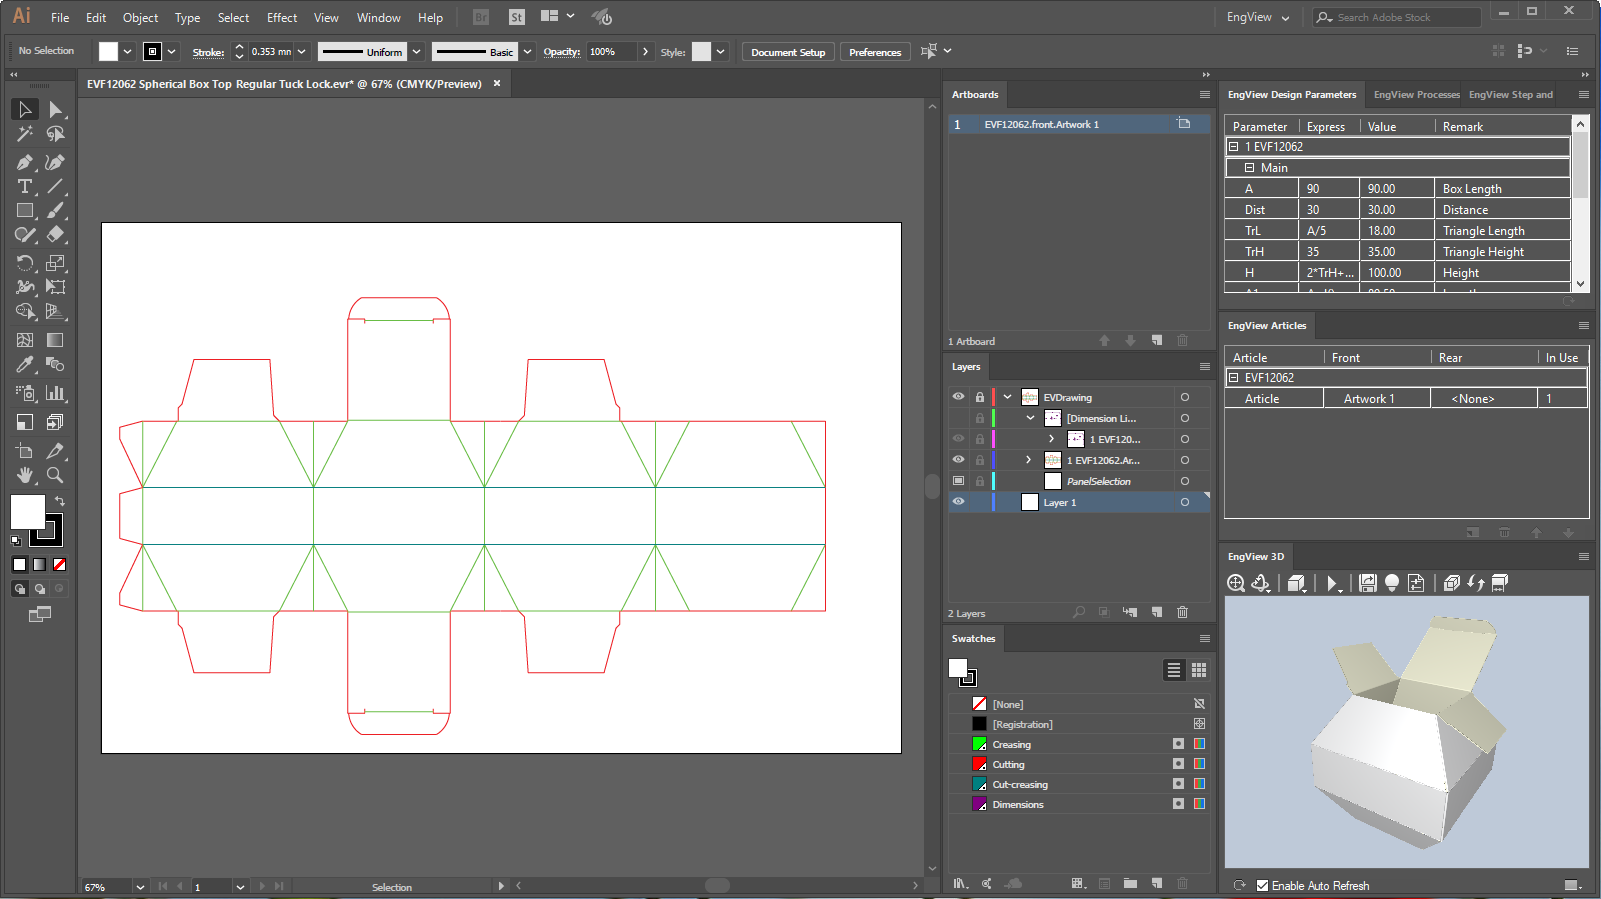
COMMENT: After the structure is loaded, Illustrator
opens a default artboard (seen in the Artboards panel) and one
article (seen in the EngView
Аrticles panel), with a default front side artwork: Artwork1, held
in the artboard EVF12062.front.Artwork1. The structure's 3D representation
can is displayed in the EngView
3D panel.
- We proceed by creating a graphical design for the front side artwork
of the structure: use the file Candies Pink Design.ai. Find the file
in your installation at: C:\EngViewWork7\Samples\Images.
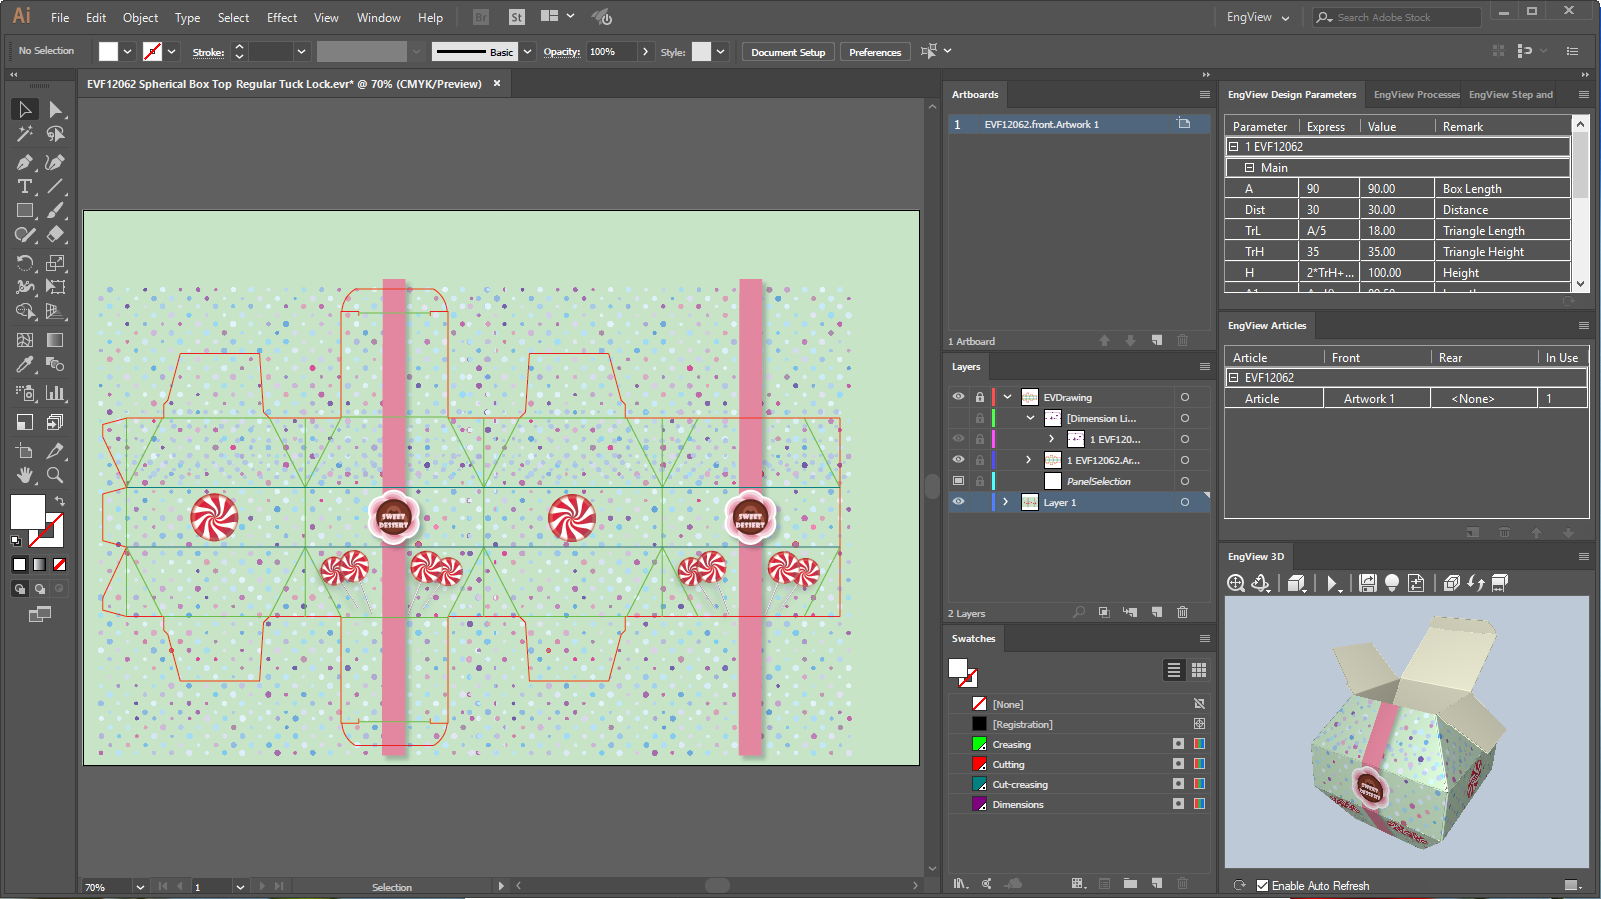
- Rename the artwork
to Pink Candies. Notice that the name of the artwork-holding artboard
changes accordingly.
Creating a second artwork for the front side
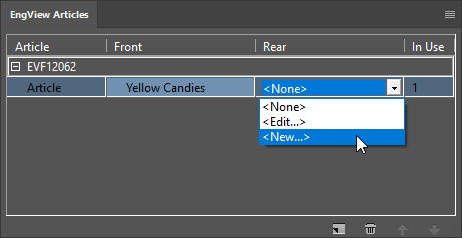
- In the EngView Аrticles
panel, click in the Front column, and then click New.
This is the first step toward creating a new artwork.

The New Artwork dialog box appears.
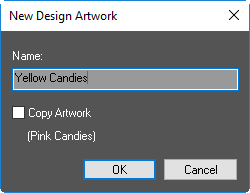
- For the artwork, we type a name that makes sense. In this case,
Yellow Candies.
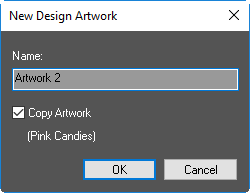
COMMENT: There are two ways of creating an artwork: (1) To copy the
artwork of the currently applied artwork and then edit it. In this case,
we leave the Copy Artwork check box selected (in the brackets,
we see the name of the artwork whose graphics the program will copy to
the new artwork). (2) To create a new graphical design, we leave the check
box empty.
In the current case, we will not copy the artwork.
- Leave the Copy Artwork check box empty, and then click OK.
This creates the artwork.
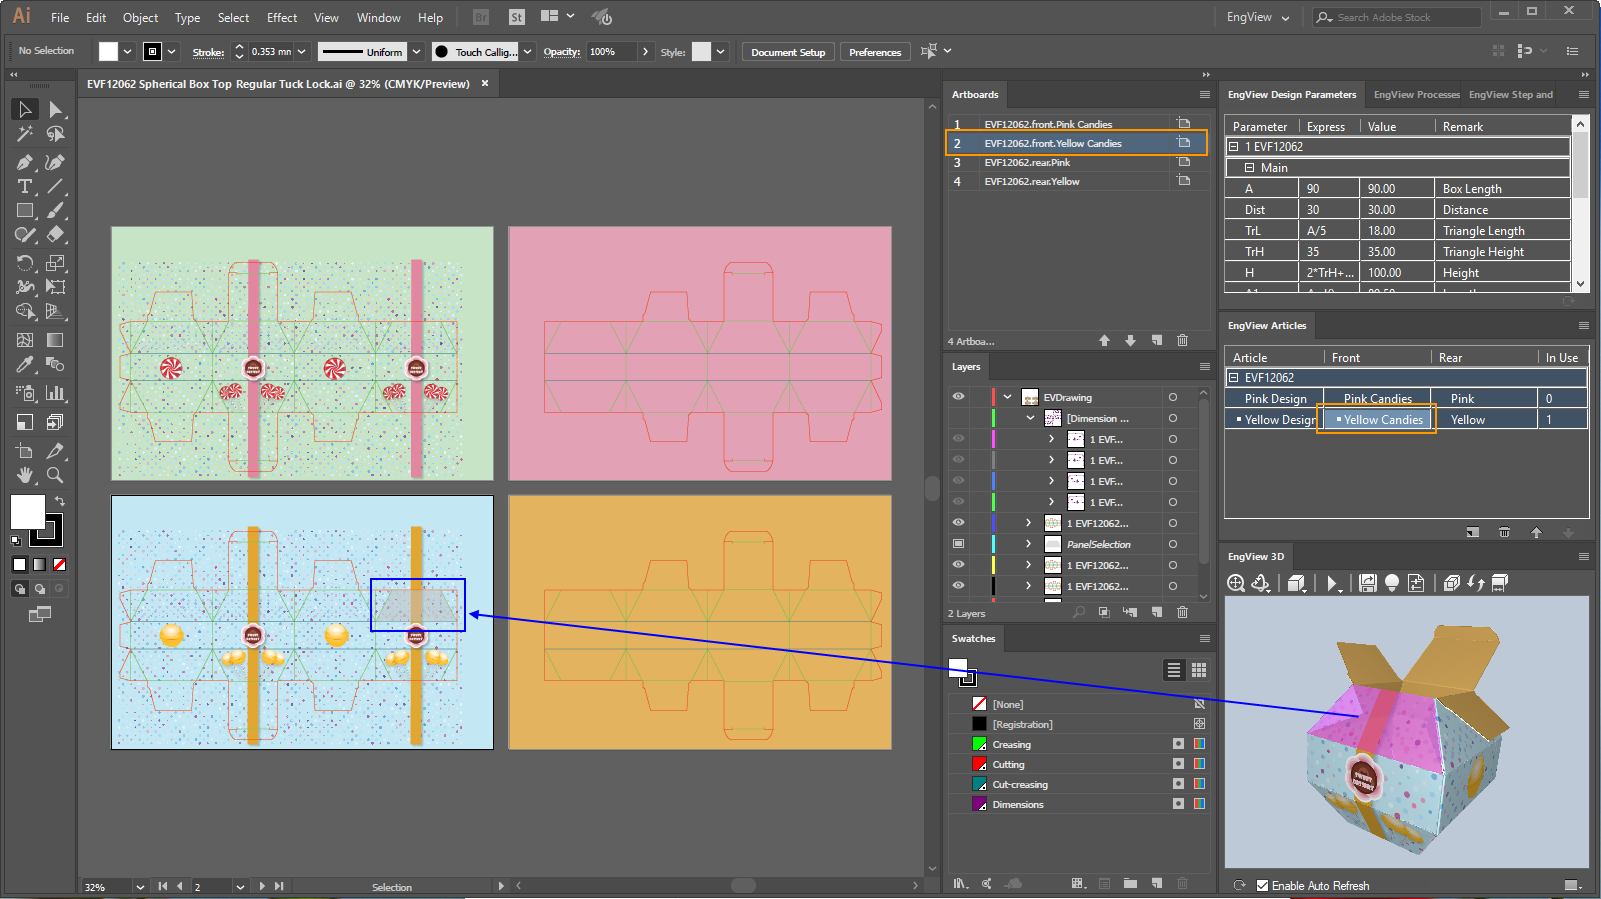
COMMENT: A new artboard — EVF12062.front.Yellow Candies — appears in
the Artboards panel. Note also that in the EngView
Аrticles panel, the newly created artwork is applied to the selected
article. This is also reflected in the 3D representation.
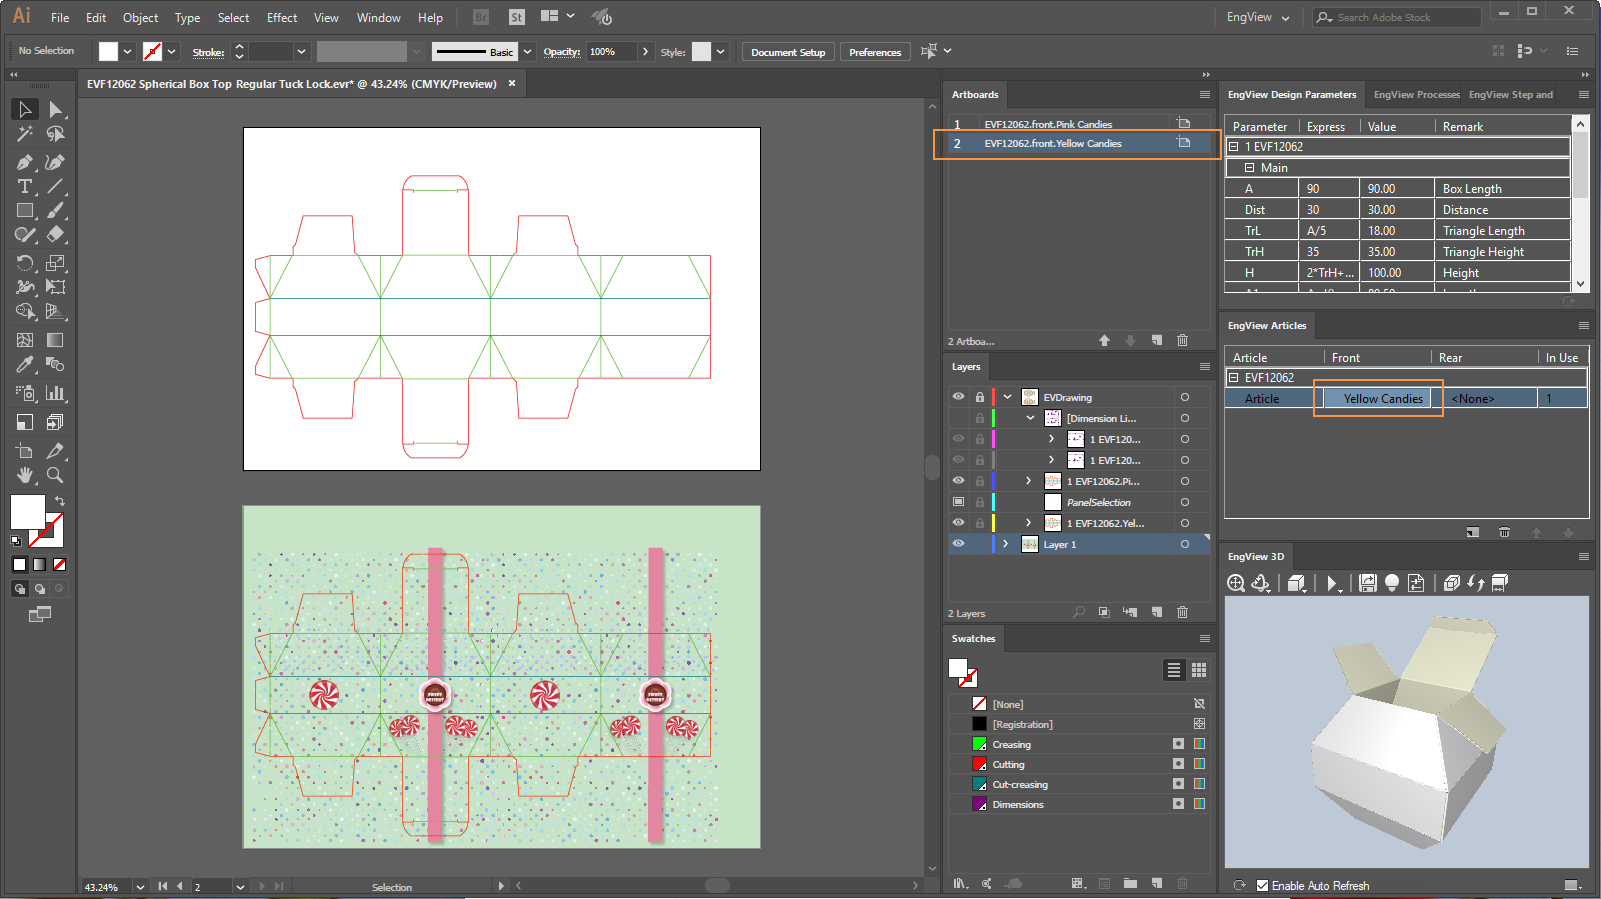
- In the new artboard, place the image Candies Yellow Design.ai.
Find the file in your installation at: C:\EngViewWork7\Samples\Images.

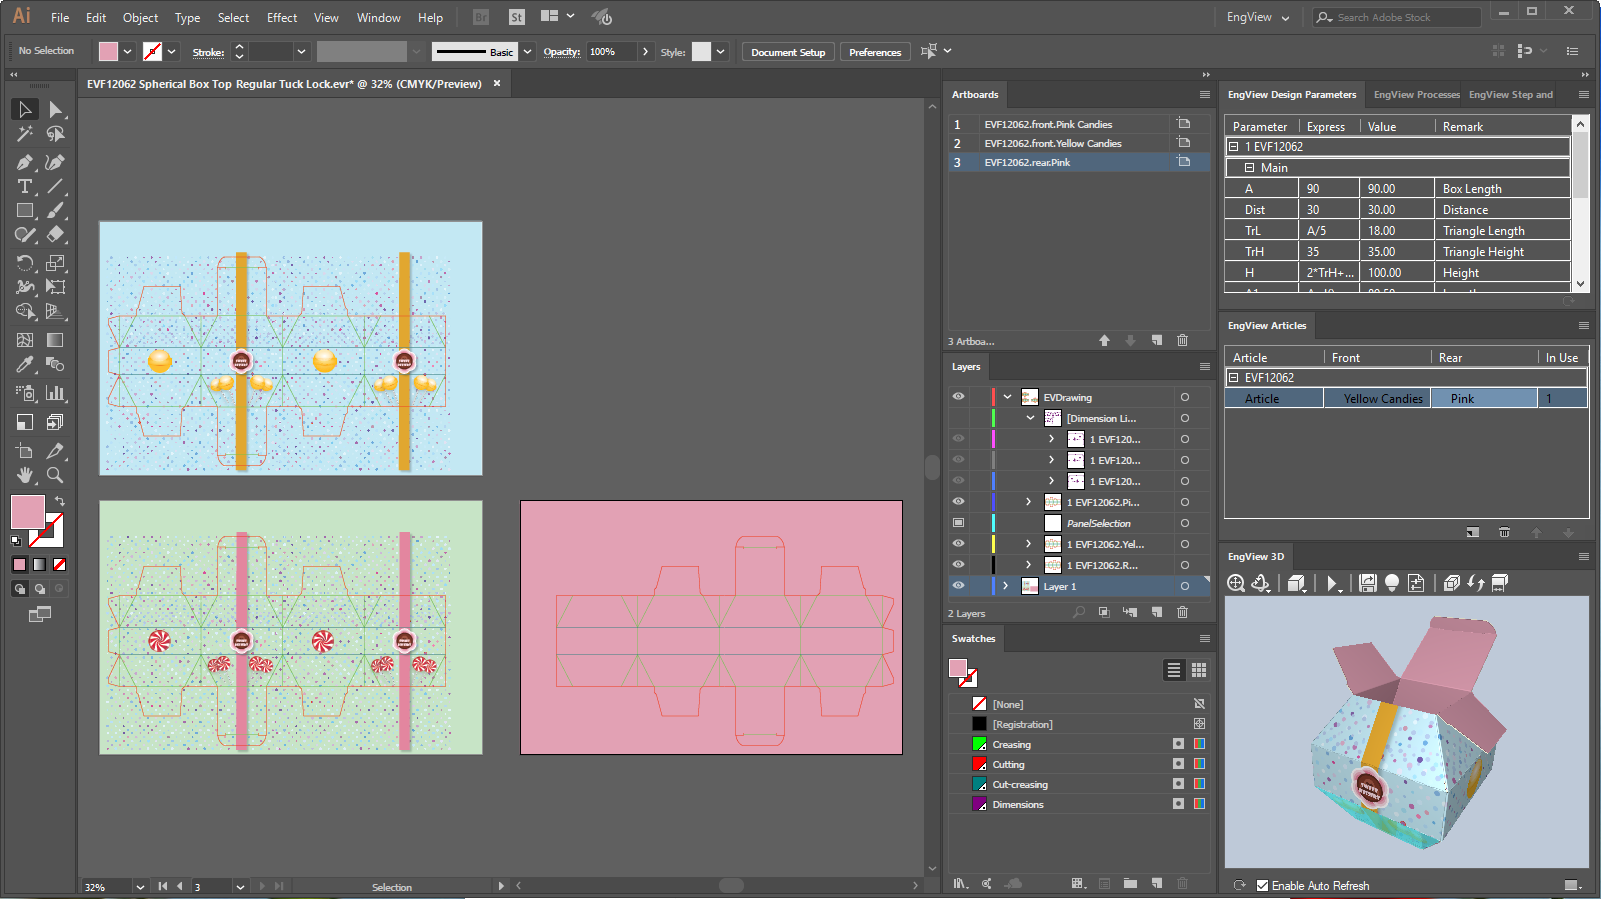
Creating an artwork for the rear side
- In the EngView Articles
panel, click the Rear column, and then click New.
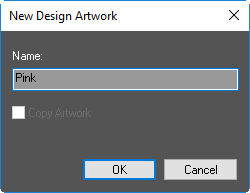
- In the New Аrtwork dialog box, we rename
the artwork with a name that makes sense: Pink.
NOTE: So far we do not have a rear side graphical design.
That is why the program does not offer to copy any artwork.
A new artboard — EVF12062.rear.Pink — appears in
the Artboards panel. Now, to create a graphical project for it,
we will use the file Candies Pink Background.ai. Find the file in your
installation at: C:\EngViewWork7\Samples\Images.
- Repeat Steps 9 and 10 to create a second artwork for the rear side.
Name it Yellow.
- Insert the image from the file Candies Yellow Background.ai into
the artboard EVF12062.rear.Yellow. NOTE: (Find the file Candies Yellow
Background.ai in your installation at: C:\EngViewWork7\Samples\Images.)
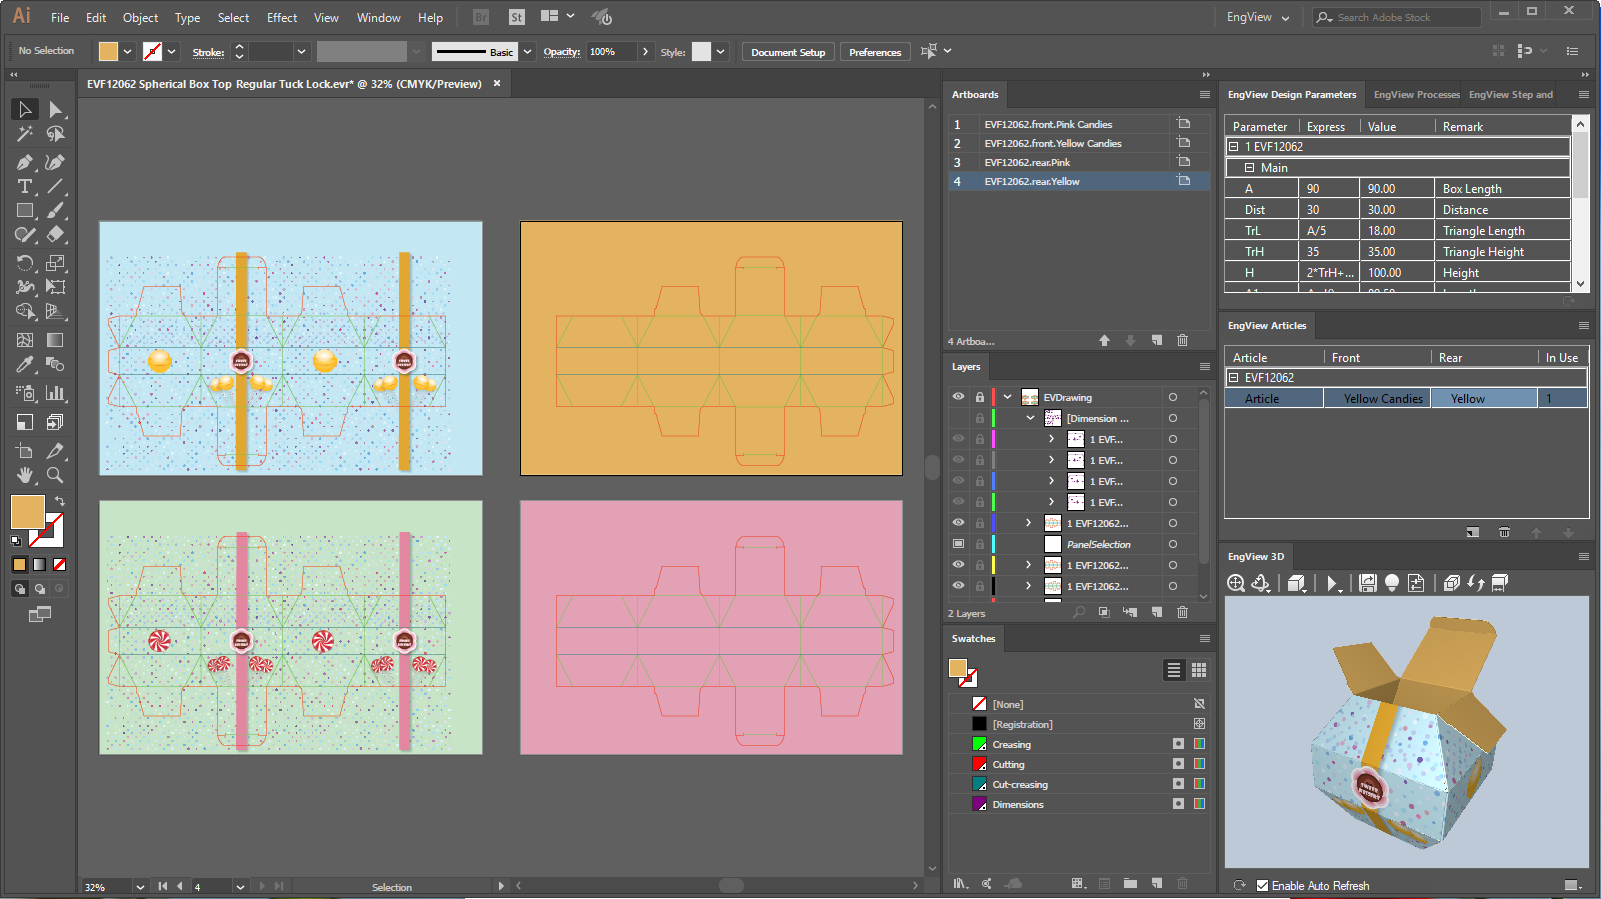
So far we have four artworks: two for the front side of the structure
and two for the rear side. We proceed by combining them into two articles.
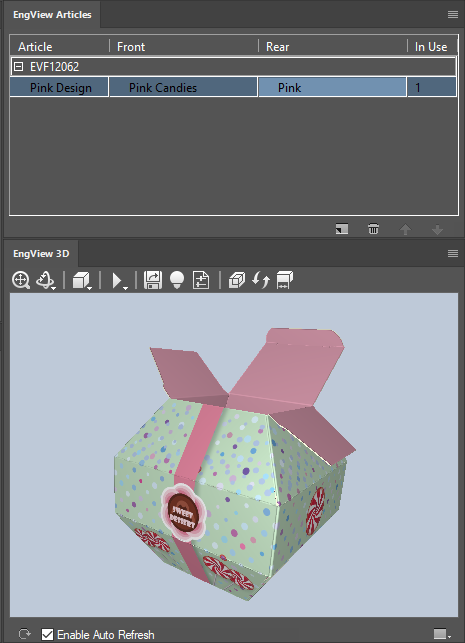
- In the EngView Articles
panel, click the Front cell of the existing article, and then
select Pink Candies.
- In the EngView Articles
panel, click the Rear cell of the existing article, and then
select Pink.
- Rename the article
to Pink Design.
Creating a new article for the structure
- In the EngView Articles
panel, click Add new article
 .
.
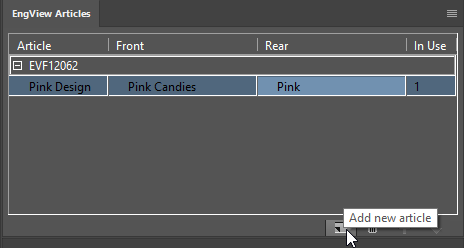
A row appears below the first one. Notice that the two articles use
the same artworks for their front and rear sides.
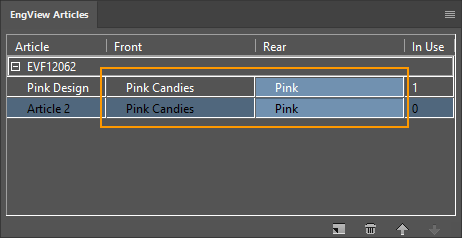
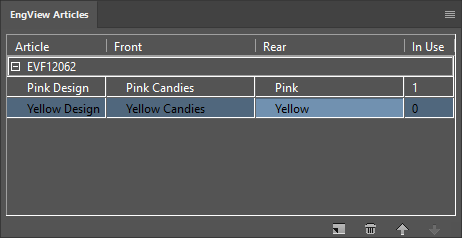
- For the new article (Article 2), we proceed by assigning artworks
for its front and the rear sides — Yellow Candies and Yellow.
- Rename the article
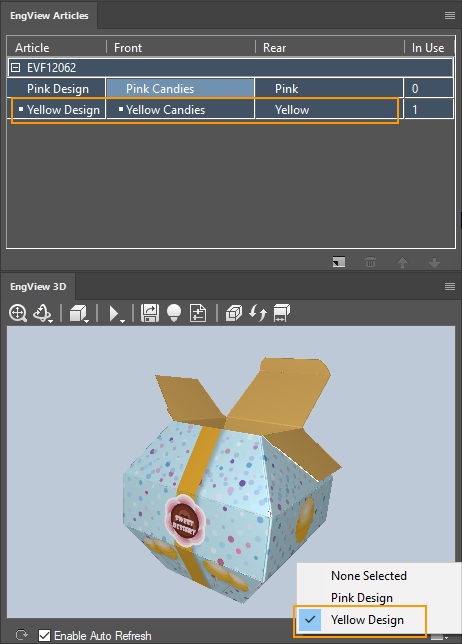
to Yellow Design.
To see the Pink and Yellow designs in the 3D panel,
we switch them by means of the Select Article button  , in the lower right corner of
the panel.
, in the lower right corner of
the panel.
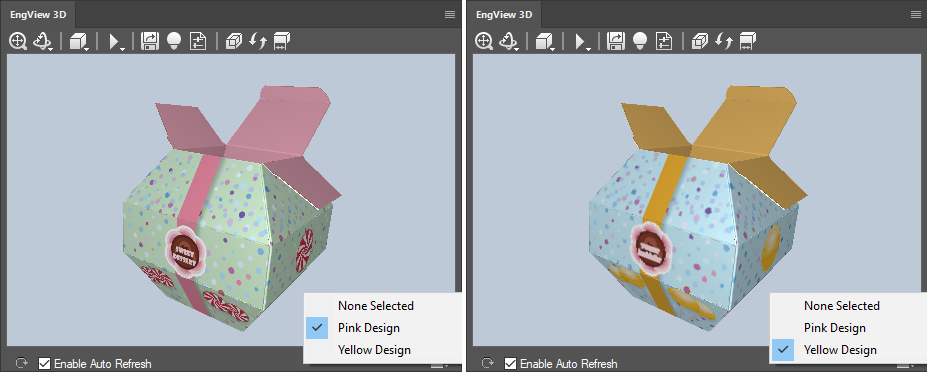
- This completes the exercise.
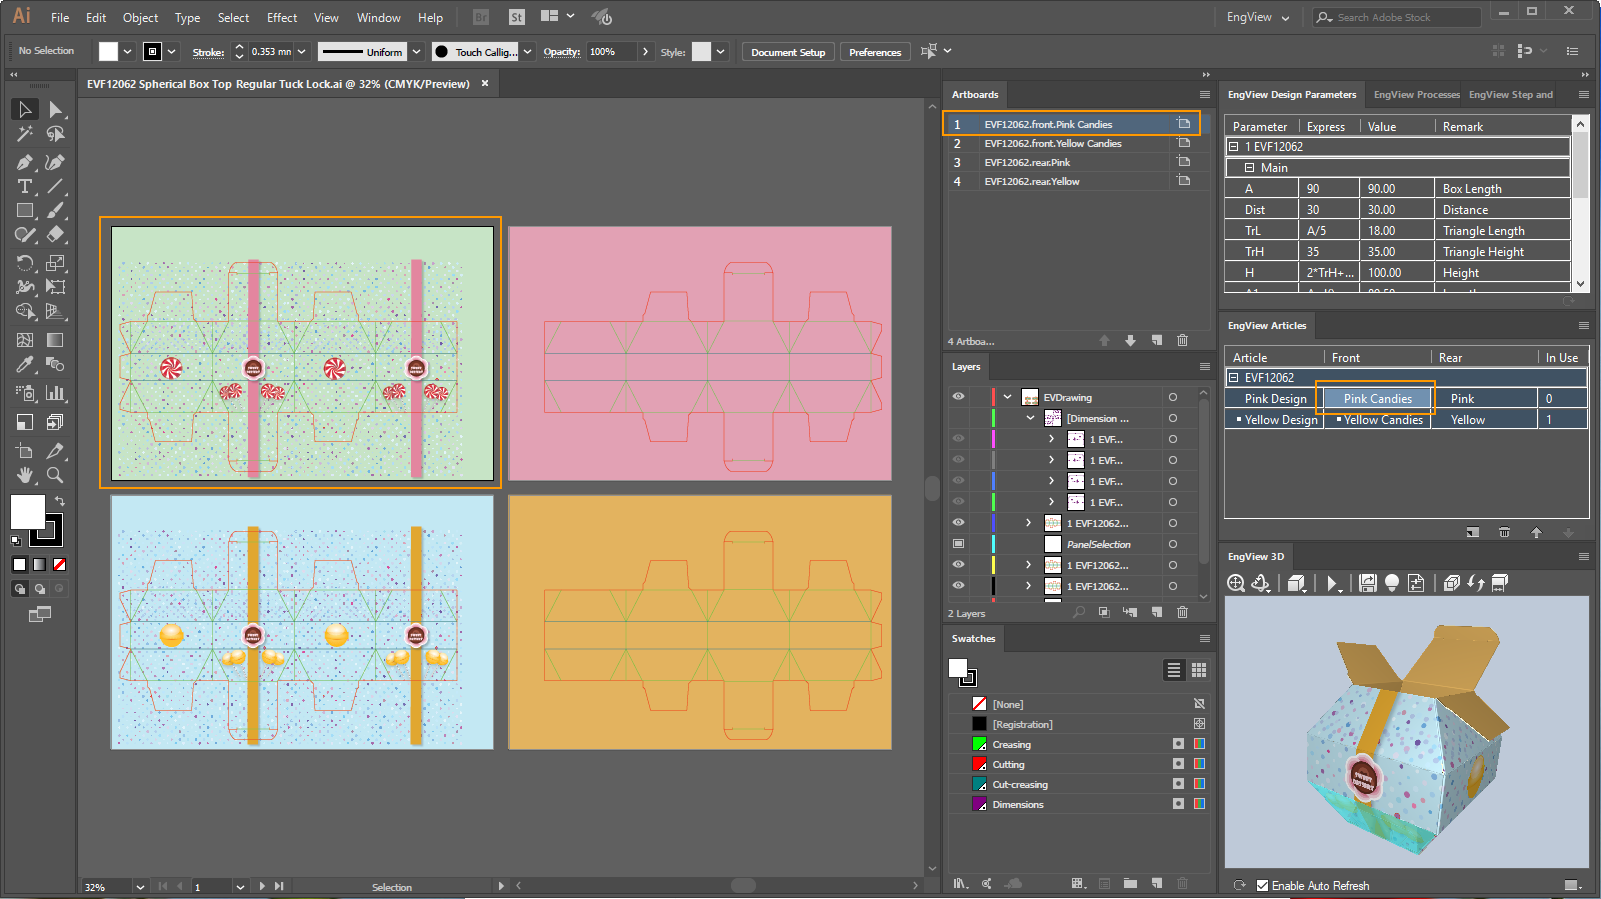
Selections
When we select something in Illustrator, the integration highlights
the respective attributes so that we can orient ourselves in what happens
where.
Selecting an artboard
When you select an artboard:
- The integration highlights the selected artboard in both the canvas
and the Artboards panel.
- In the EngView Articles
panel, the cells are highlighted in light blue in which the artwork
is applied.
Loading an article in the 3D panel
- In the EngViewArticles
panel, the integration uses a dot to indicate the selected article.
Selecting a panel in EngView 3D
- In the EngView Articles
panel, the integration marks with a dot all the cells where the selected
artwork is used.
- In the Artboards panel, the integration selects the artboard
that carries this artwork (this explains the light blue selection,
in the EngView Articles
panel, of the cells in which this artwork is selected).
- In the artboard carrying this artwork, the integration highlights
in grey the respective panel of the structural design.