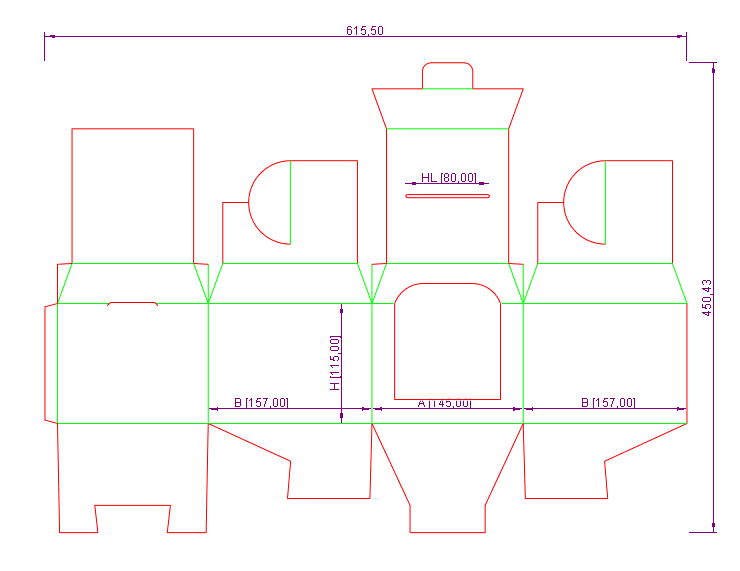

Visual: Editing design structure
![]() To watch the video, click the icon. Time: 3:53 min.
To watch the video, click the icon. Time: 3:53 min.
NOTE: In your installation, the file is located in: […] \EngViewWork7\Standards Library\mm\Standards\Folding Carton\EngView\EVF1 Glued Boxes\EVF11 Rectangular\EVF119 Misc.
IMPORTANT: If you want to see the dimensions in the design, in the Layers panel, click the eye icon that enables the visualization of the dimension lines. Note that for the dimension lines to appear in Illustrator, you must ensure that in EngView the display of the dimensions is enabled. To do so, in the graphical area, right-click, and then check Show Dimensions.

A = 145
B = 157
H = 115
 .
. , and then click Edit in Package Designer. This opens EngView and the file.
NOTE: Pay attention that in the file caption the name of the file is preceded by the letters AI: This means that the file comes from Illustrator and that any changes to it are automatically reflected in the file as it is opened in Illustrator.
 .
.A contextual edit bar appears above the graphical area.
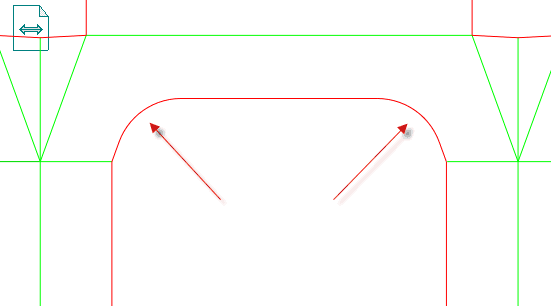
The fillets are drawn.
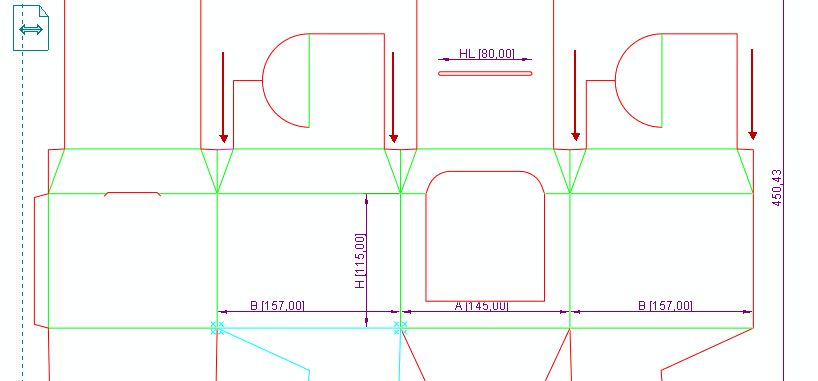
TIP: As components, the webbed flaps are groups of objects. To select individual objects within these components without selecting the entire components, holding down CTRL + SHIFT use the mouse to select the objects that you want.
IMPORTANT: Since we removed objects from the webbed flaps, we now need to apply the Cutting style to the resultant outer objects, which until now were in the Creasing style. After the removal of an object from the webbed flap, previously inner objects have become outer objects. These objects now need to be in the Cutting style, so that the contour that they form can be cut on the machine.
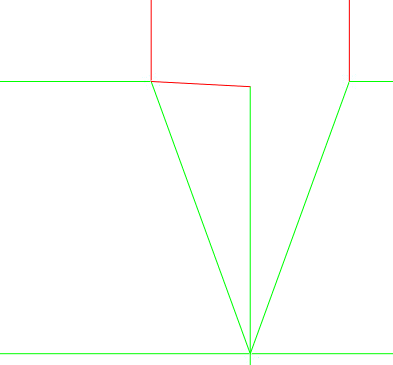
The two outer objects that are still in the Creasing style need to be made in the Cutting style, so that the contour that they form can be cut on the machine.
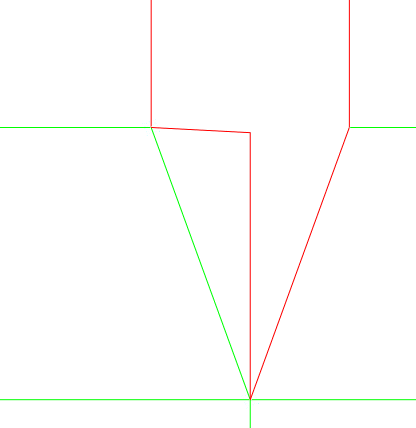
The two outer objects are now in the Cutting style.
 .
.NOTE: The sequences continues after an external 3D object has been inserted into the folded box. Since the insertion of 3D objects is outside the purpose of the current scenario, the steps relating to it have been omitted. For details, see Inserting external 3D objects into folding sequences.
IMPORTANT: While closing the file, EngView prompts you to save the changes you have made. In the dialog, click the YES option.
EngView disappears and you are again working in Illustrator.