.
.If you cannot find a program-generated layout solution that suits your production needs, you can search for an alternative in automatic layout functionality.
To analyze alternative automatic layouts
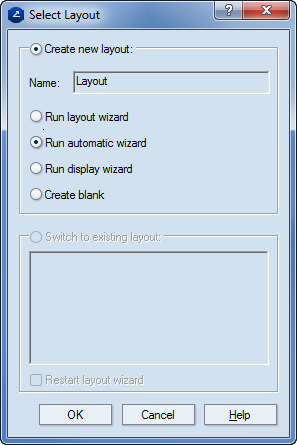
.The Select Layout dialog box appears.
The Automatic Layout dialog box appears.
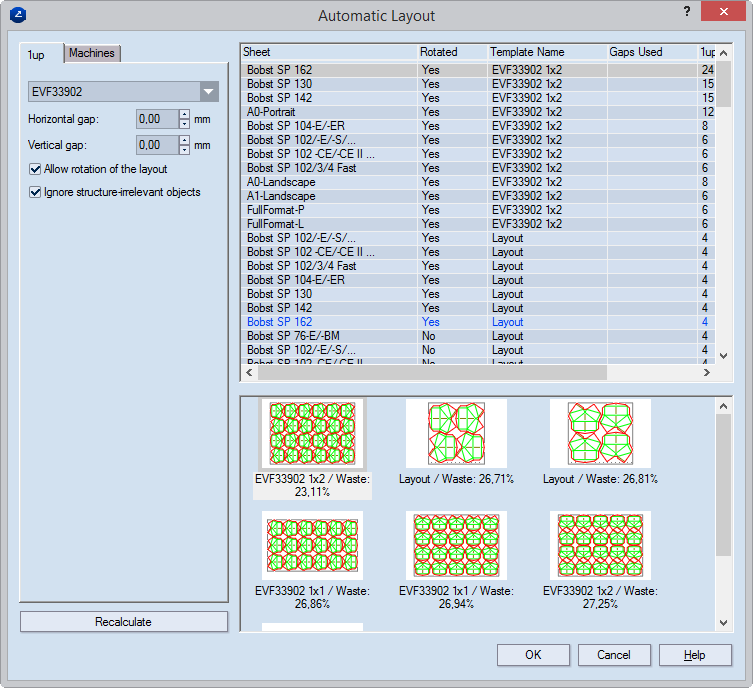
Horizontal gap In the layout, sets the minimal technological horizontal distance along the x-axis between the 1ups.
Vertical gap In the layout, sets the minimal technological vertical distance along the x-axis between the 1ups.
Allow rotation of the layout Makes possible the alignment of the layout other than at 90-degree positioning.
Ignore structure-irrelevant objects When this check box is selected, the layout will not include objects that do not affect the structure. Structure-irrelevant objects are:
Recalculate Recalculates the list of sheets after changes have been made to the settings in the Sheet Selection and Layout areas.
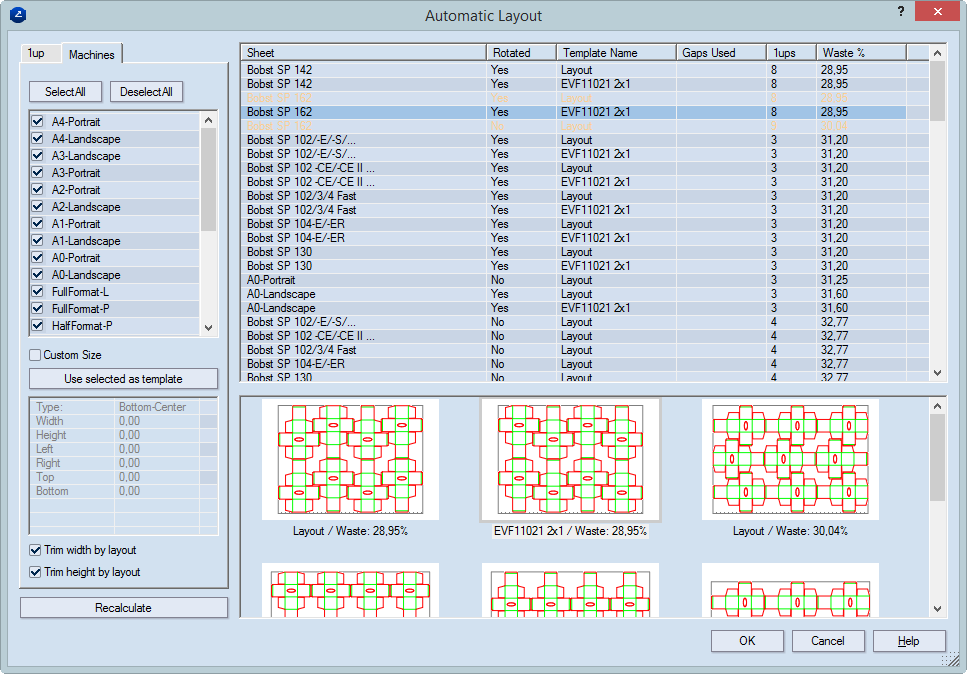
The lower-half area shows previews of the layouts highlighted in the table. The preview of the selected layout is specially outlined in blue.
Select All Selects all the machines in the Sheet list.
Deselect All Clears the selections of any already selected machines in the Sheet list.
Custom Size Enables the definition of a sheet not featured in the sheet list. The definition takes place in the list below, by setting values for the sheet's size and margins.
Sheet A list of the sheet's size and margins, with which a custom size sheet can be defined.
Sheet Values defining the sheet's size and margins for a custom size of a sheet.
Trim width by layout When selected, trims the width of the sheet according to the outer width margins of the layout.
Trim height by layout When selected, trims the height of the sheet according to the outer height margins of the layout.
The table
Sheet Displays the name of the sheet. When a sheet is selected in the table, its visual representation is selected in the preview area.
Rotated Indicates if the layout is rotated at 90 degrees.
NOTE: No other rotations are possible.
Template name Displays the layout-positioning pattern — that is, (1) how the 1ups are arrayed onto the sheet and (2) if the layout is rotated.
Gaps Used Displays the minimal gap values set for the template. This indication appears only if the gaps values set in Horizontal gap and Vertical gap (in the 1up tab) are smaller than the minimal gaps set for the applied template.
NOTE ON HOW TO HANDLE THIS: The indication only lets you know about the discrepancy: If you do not change the values in Horizontal gap and Vertical gap, the template-set minimal gaps will be applied when you click OK. If you do not like them, either enter greater values or edit the template or define a new one.
1ups Displays how many 1ups there are in a sheet.
Waste% Displays the amount of sheet area that will be lost for the respective sheet.
The lower-half area shows previews of the layouts highlighted in the table. The preview of the selected layout is specially outlined in blue.
The list of layouts is recalculated, and the order of the layouts has changed.
TIP: In the list, layouts are ranked first according to the least waste.
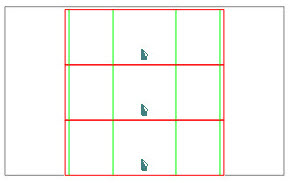
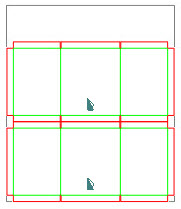
NOTE ON TRIMMED LAYOUTS: In the graphical list of layout variants, this is how layouts appear when trimmed by height and width:
|
|
|
|
Layout trimmed by height |
Layout trimmed by width |