 .
.You can edit the appearance of surface effects by changing the settings of their process layers. After the editing, the new effects are applied to all the objects assigned to the process layer.
NOTE: The type of a process layer is originally chosen in the 1up drawing (see Creating layers, Step 3). However, because its appearance can be inspected only in the 3D representation, once the process layer has been created, its type can be edited also in the 3D drawing. This allows the immediate inspection of the various appearances of the surface effect without the need to return to the 1up drawing to do the editing. After the type has been set in the 3D drawing, the newly type appears in the Layers section also in the 1up drawing.
Editing process layers
NOTE: If the Layers & Objects tab is unavailable, right-click any of the available tabs, and then check Layers & Objects on the context menu.
.The Edit Layer dialog box appears.
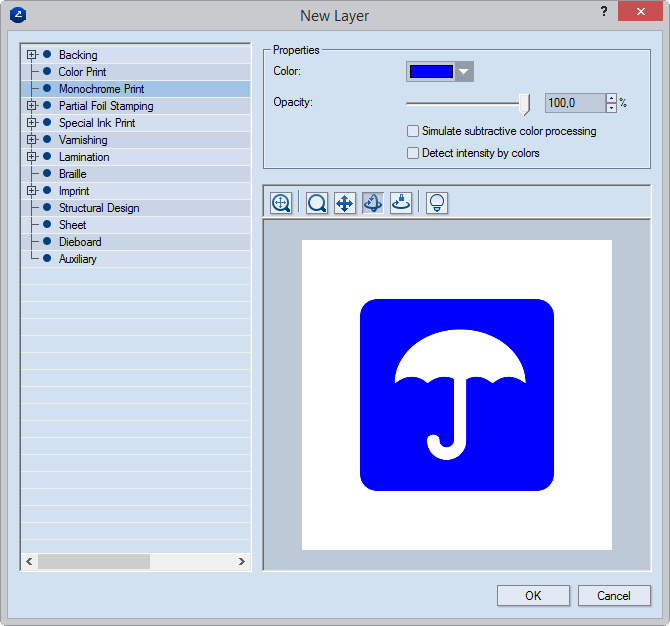
Properties Context-specific settings for the surface process at hand. The default settings are:
Backing Opacity; in Colored cold foil Opacity and color
Color Print, Special Ink Print, Varnishing, Lamination, Braille Opacity
Monochrome print Opacity and color
Partial foil stamping (Colored Foil) Color
Imprint Opacity and bump height
NOTE ON OPACITY: Colors appear differently depending on whether they are printed onto corrugated or carton board. To give guidance for how colors will appear when printed on different materials, the program can simulate light absorption. To use this simulated light absorption, select the Simulate subtractive color processing check box.
 Fit Fits the design
to the preview area.
Fit Fits the design
to the preview area.
 Zoom Enables zooming
into the preview area.
Zoom Enables zooming
into the preview area.
 Pan Enables moving the design
around the preview area.
Pan Enables moving the design
around the preview area.
 Turn Enables the rotation
of the design around the preview area.
Turn Enables the rotation
of the design around the preview area.
 Single axis rotation Starts the mode in which you can rotate the
3D model along a single axis, the direction being defined by the movement
of the mouse.
Single axis rotation Starts the mode in which you can rotate the
3D model along a single axis, the direction being defined by the movement
of the mouse.
 Scene settings Opens
a dialog box in which you can set the visuals of the preview area.
Scene settings Opens
a dialog box in which you can set the visuals of the preview area.